An Introduction to Photography
Smartphone transition
I have recently acquired a new smartphone, the iPhone 15 Pro. My last one was the iPhone 6S Plus, so it was a pretty big change. Not only in power, but in camera capabilities. This is even more evident if your old phone's camera does not focus on any object or area.
Photography hasn't been a big interest of mine, or at least investing time in it was something I rarely considered. I would occasionally find amazing images shared in the internet of different places, moments, landscapes... Some of them very pleasant to observe. Why not create my own? Well, I never had the tools to begin with. But I gave it a shot recently.
The first picture
I went on a trip to Furnas in my home island São Miguel with my parents and grandma. We ate breakfast there in the silence of the morning by the lake. This was my first proper picture with the phone:
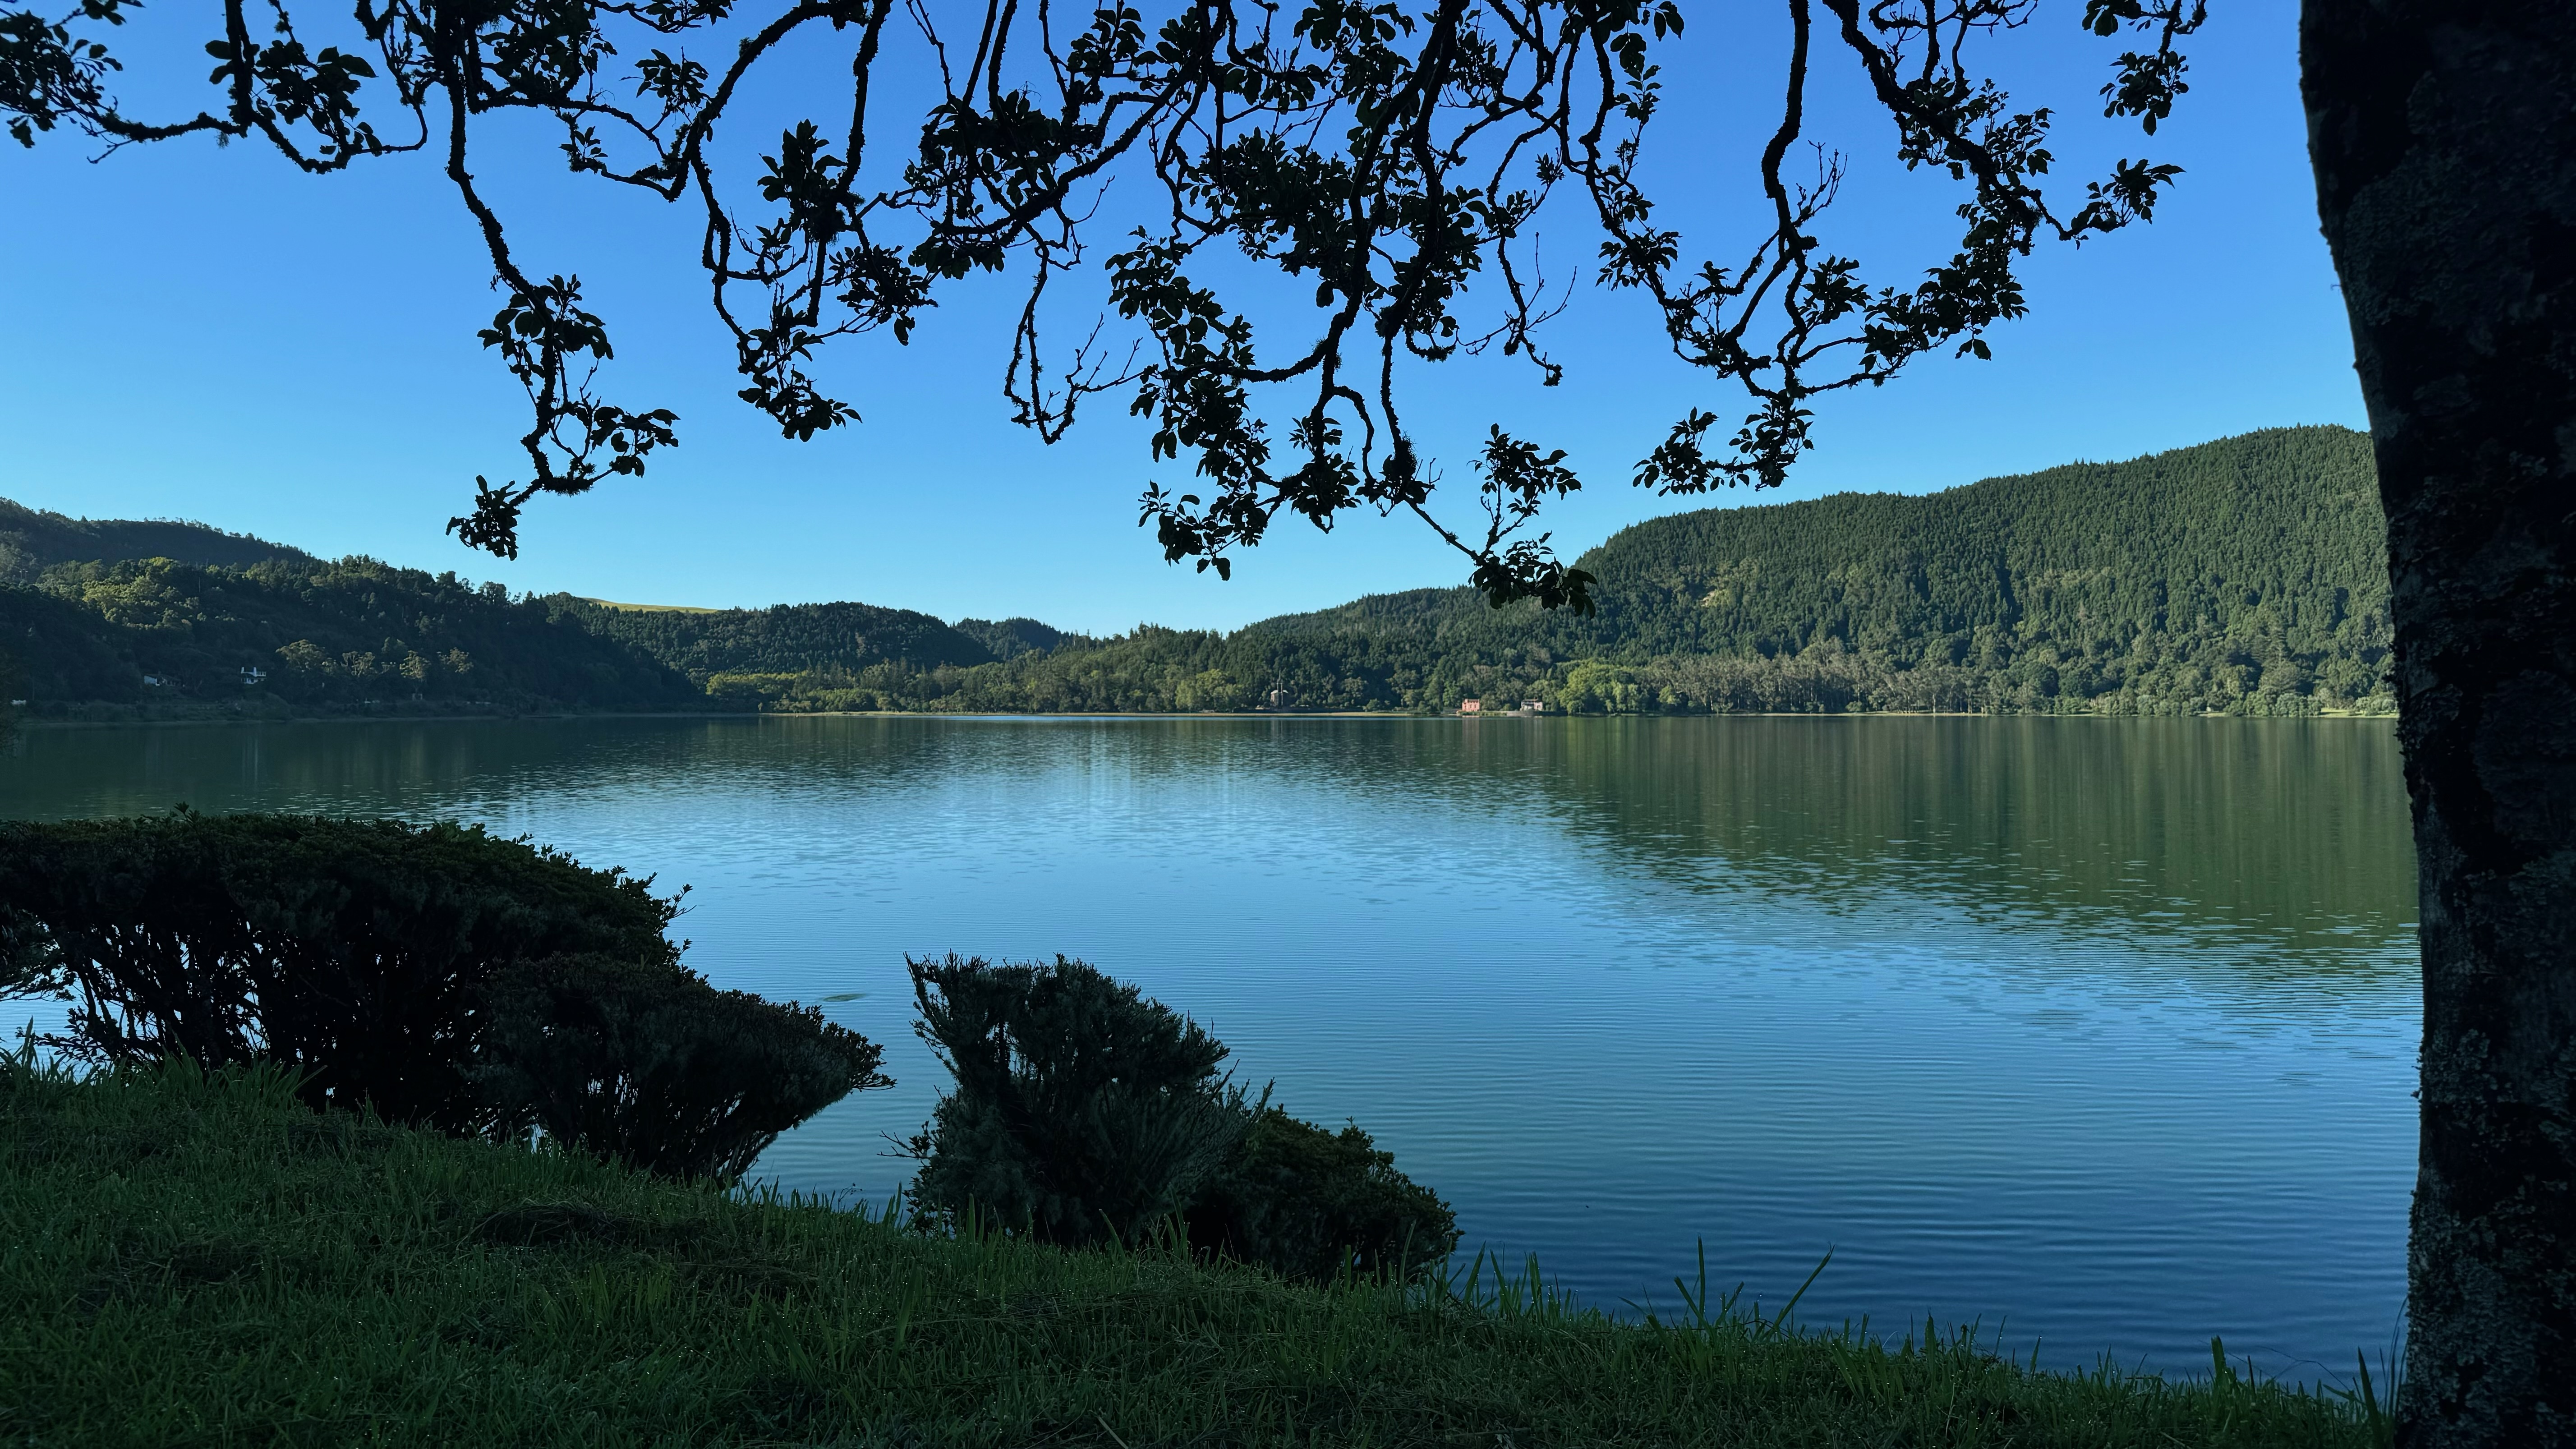
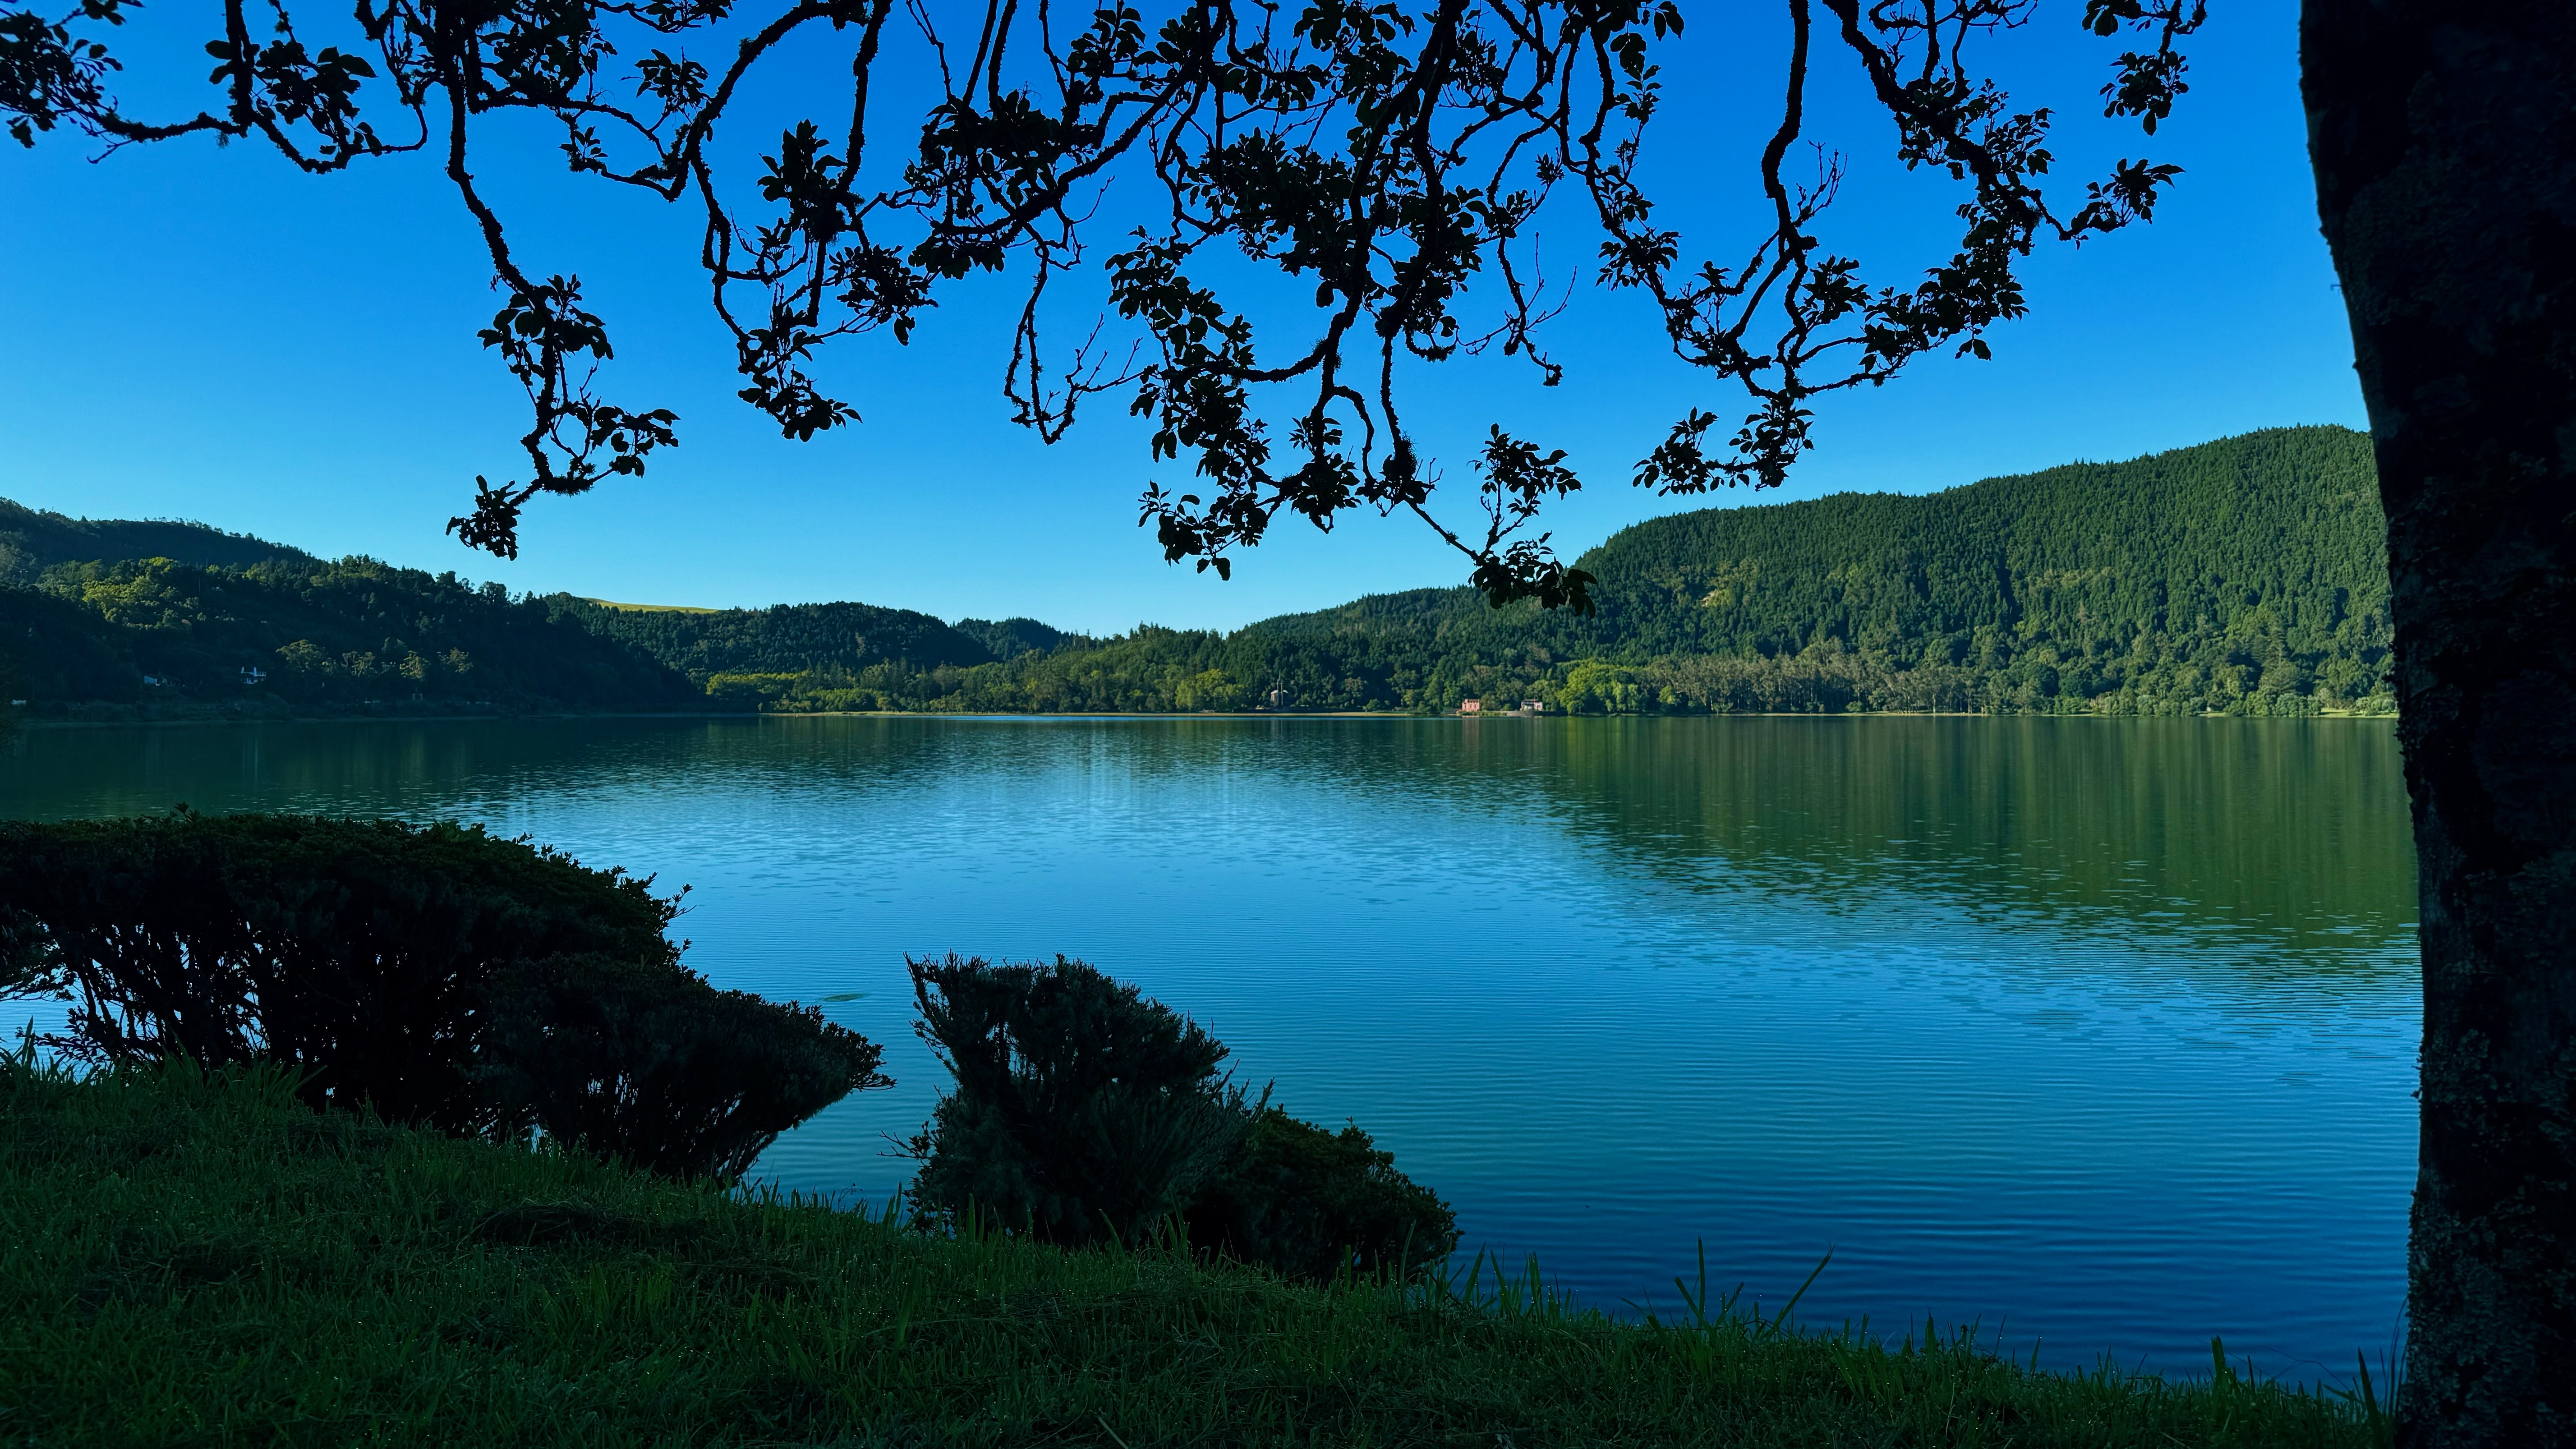
I explored a few of the editing functionalities the iPhone provides in the camera app and tried to make the image more pleasant. My main idea with the editing on this one was to make it feel like a calm morning, vegetation standing out with some humidity and vibrant but realistic colors, and displaying a clear blue sky. I believe it was a good result. Nonetheless, it was a first attempt at editing.
One of the key aspects I learned through this is that too much editing may be doing exactly what you want in general, but the image may lose detail in some areas. This is not optimal, unless it isn’t noticeable. The bushes are the main object affected by the editing in negative terms, losing some detail to darker tones. However, it gives the impression that the tree’s shadow has some influence in the matter.
Below is a brief description of every functionality I explored1.
Light controls:
- Exposure - act as though more or less light got into the lens
- Brilliance - lighten shadows while toning down highlights
- Highlights - adjust the brightness of the lightest parts in the image
- Shadows - adjust the brightness of the darkest parts in the image
- Contrast - make the darker parts darker and the lighter parts lighter
- Brightness - make the entire image lighter or darker
- Black point - adjust the very darkest part of the image
Color controls:
- Saturation - change the intensity of colors in the image
- Vibrancy - change the intensity of the least saturated colors
- Warmth - adjust the yellow and blue tones to warm or cool an image.
- Tint - adjust the green or magenta tones in your image
Detail controls:
- Sharpness - sharpen the edges in your image
- Definition - make the details in your image clearer
- Noise reduction - reduce the graininess in your image
- Vignette - darken the corners of the image
Additional editing features:
- Rotation
- Crop
Testing the lenses
After having lunch at Ponta do Garajau restaurant, in Ribeira Quente, we also visited the Santa Iria viewpoint. A sort of small peninsula stands out from the entire view. I felt this was perfect to test out the different lenses. Here are the results for the wide camera, 24mm lenses, 28mm lenses and 35 mm lenses, post-editing:
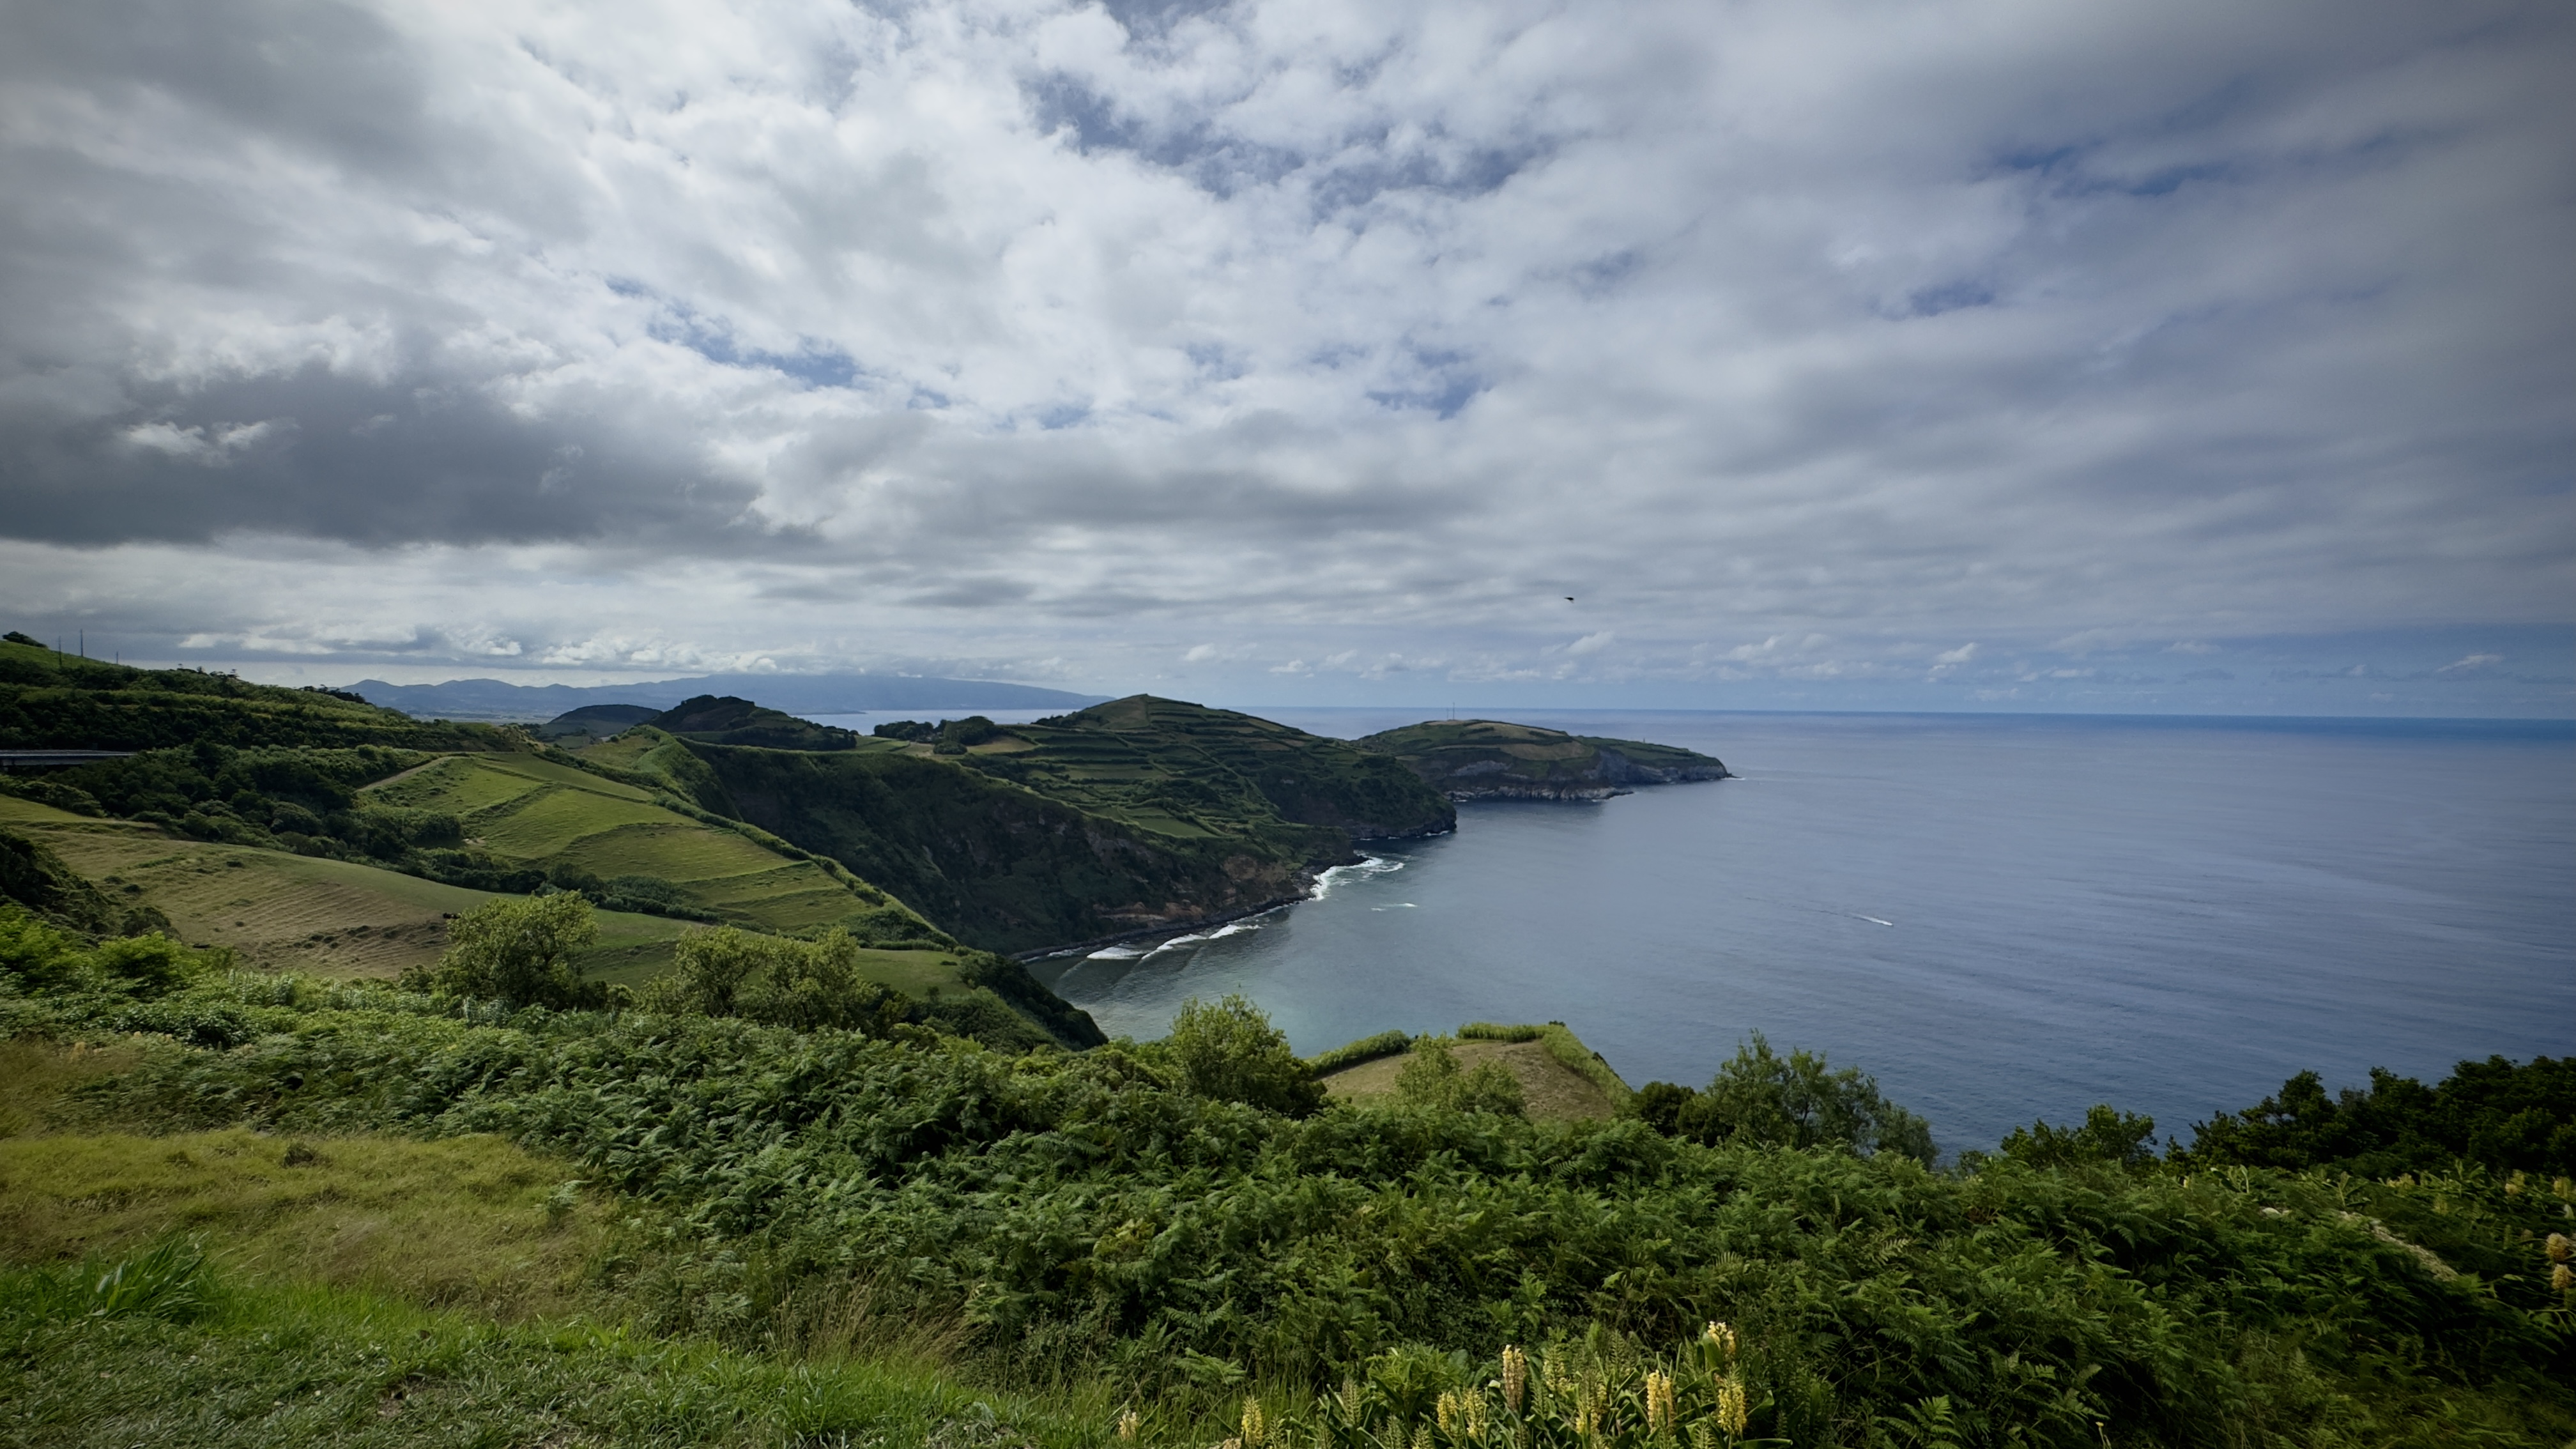
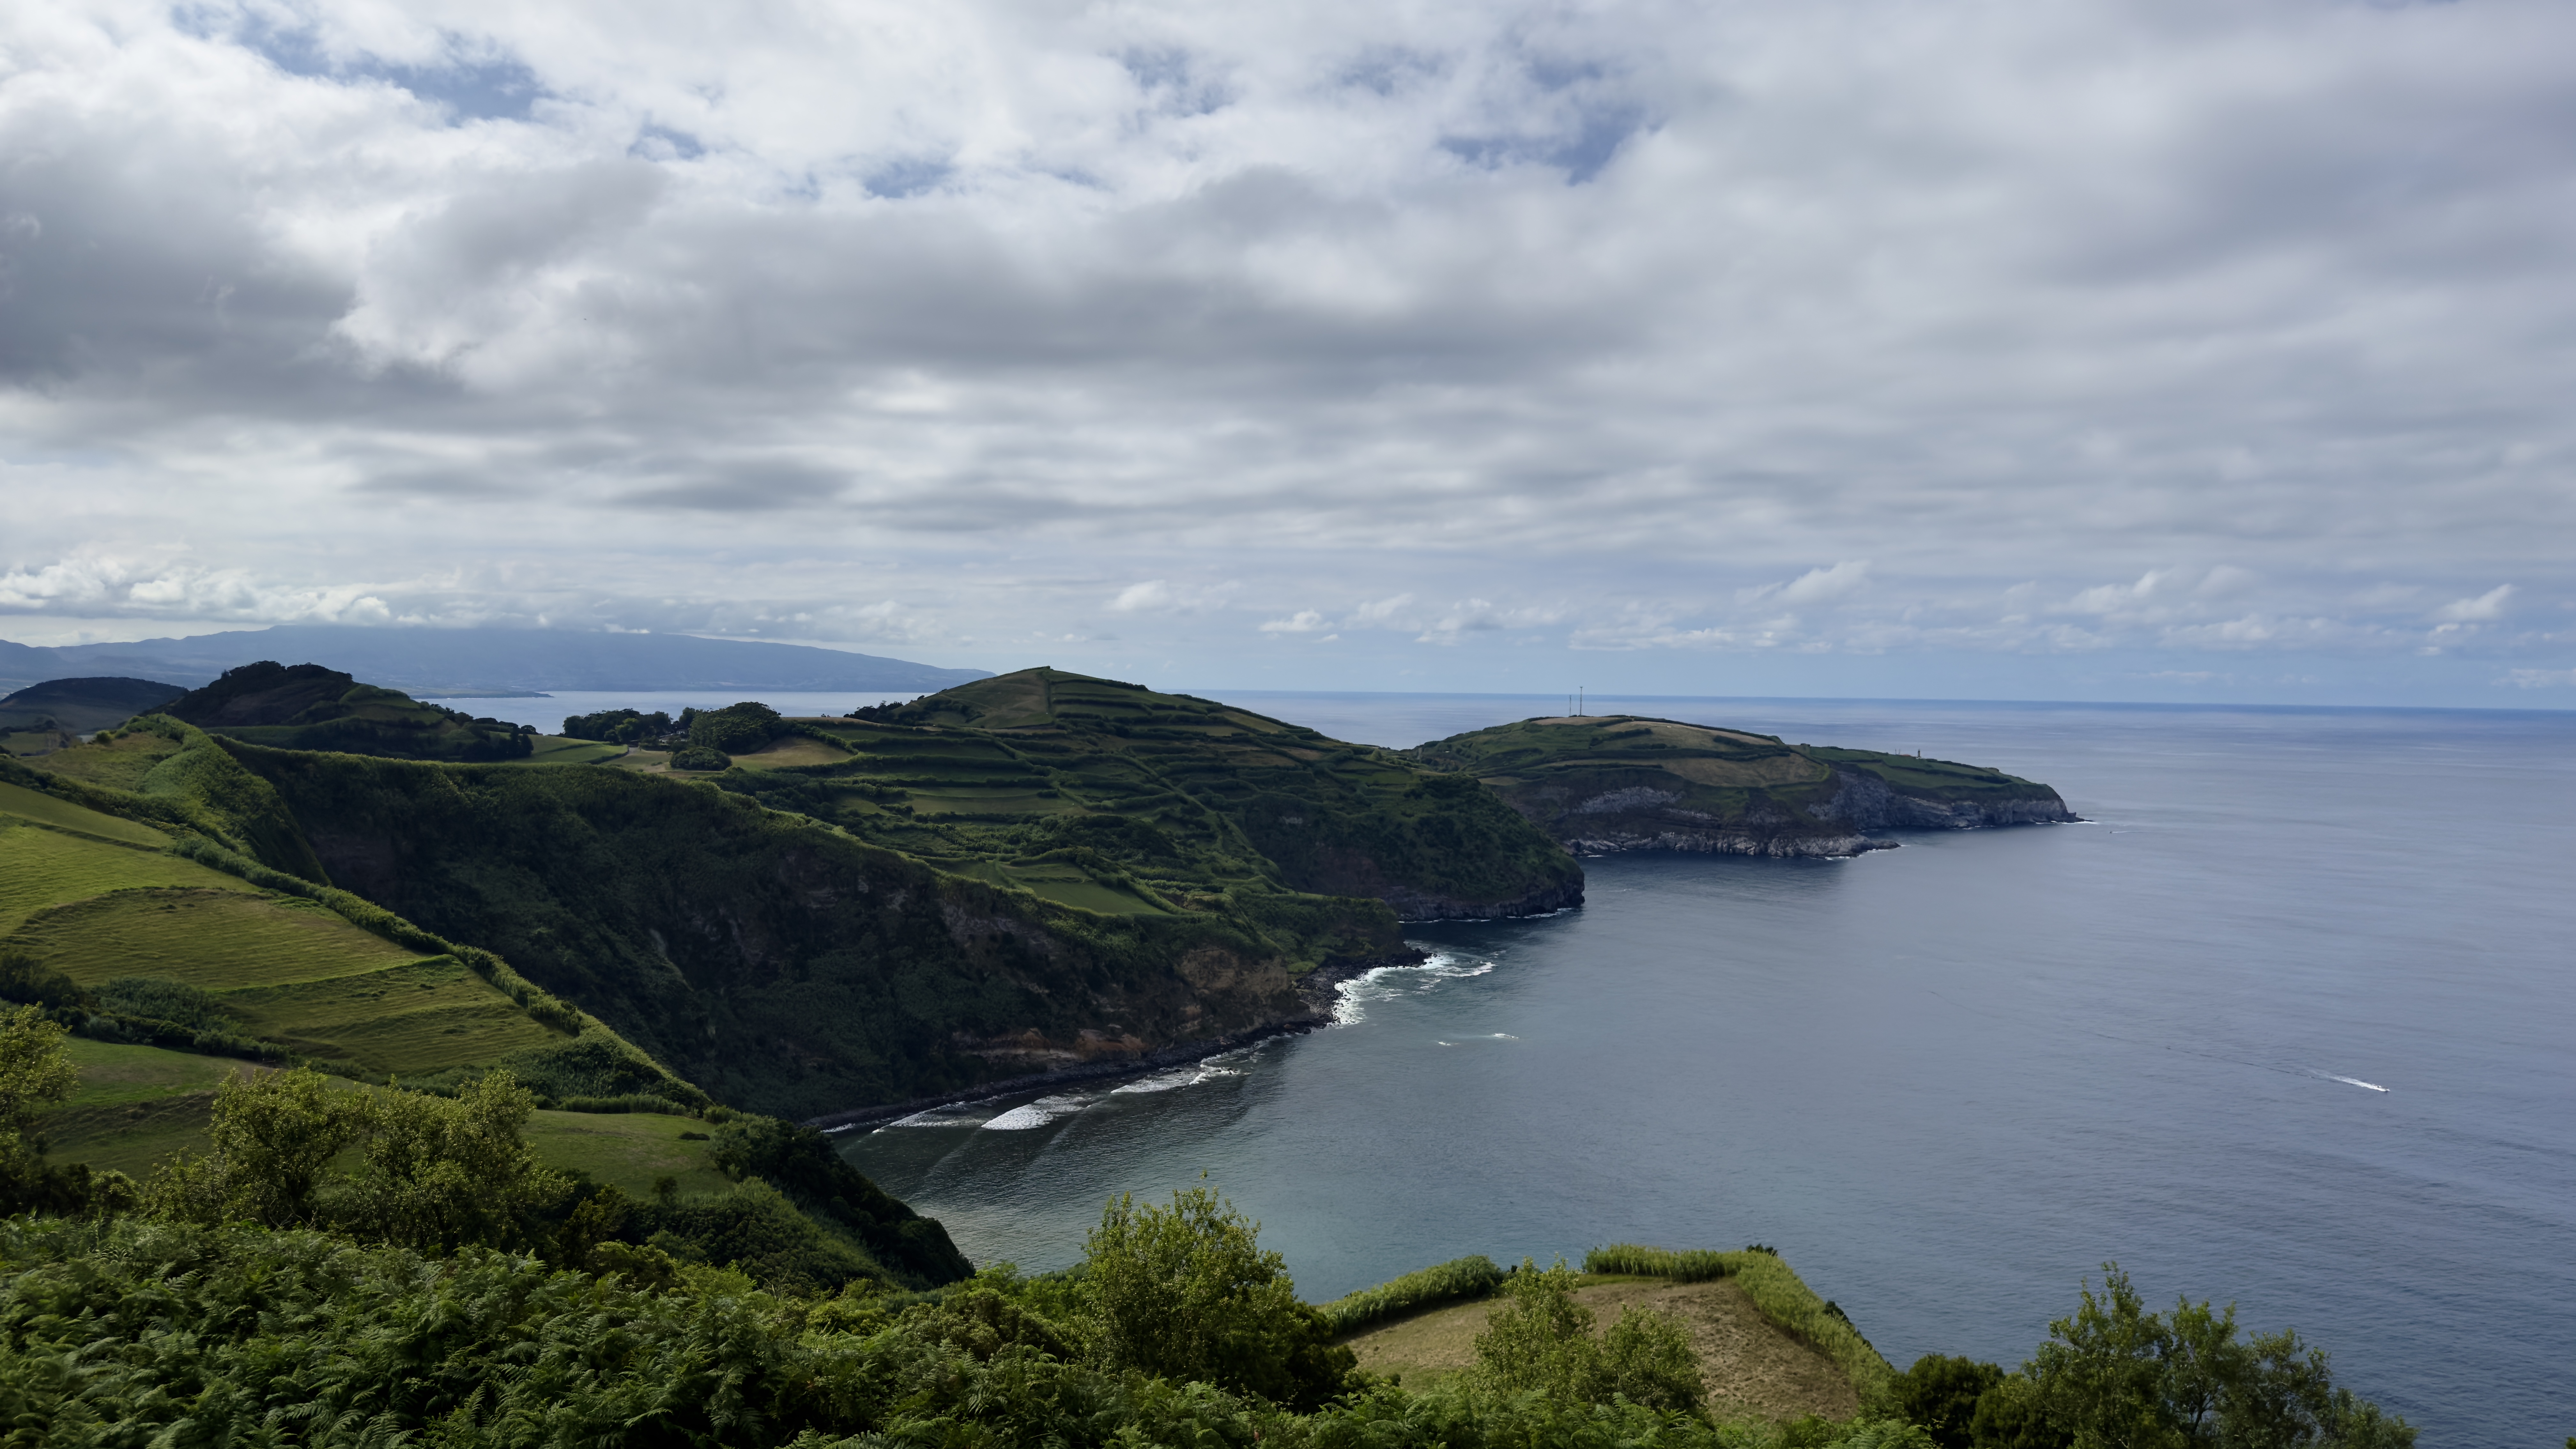
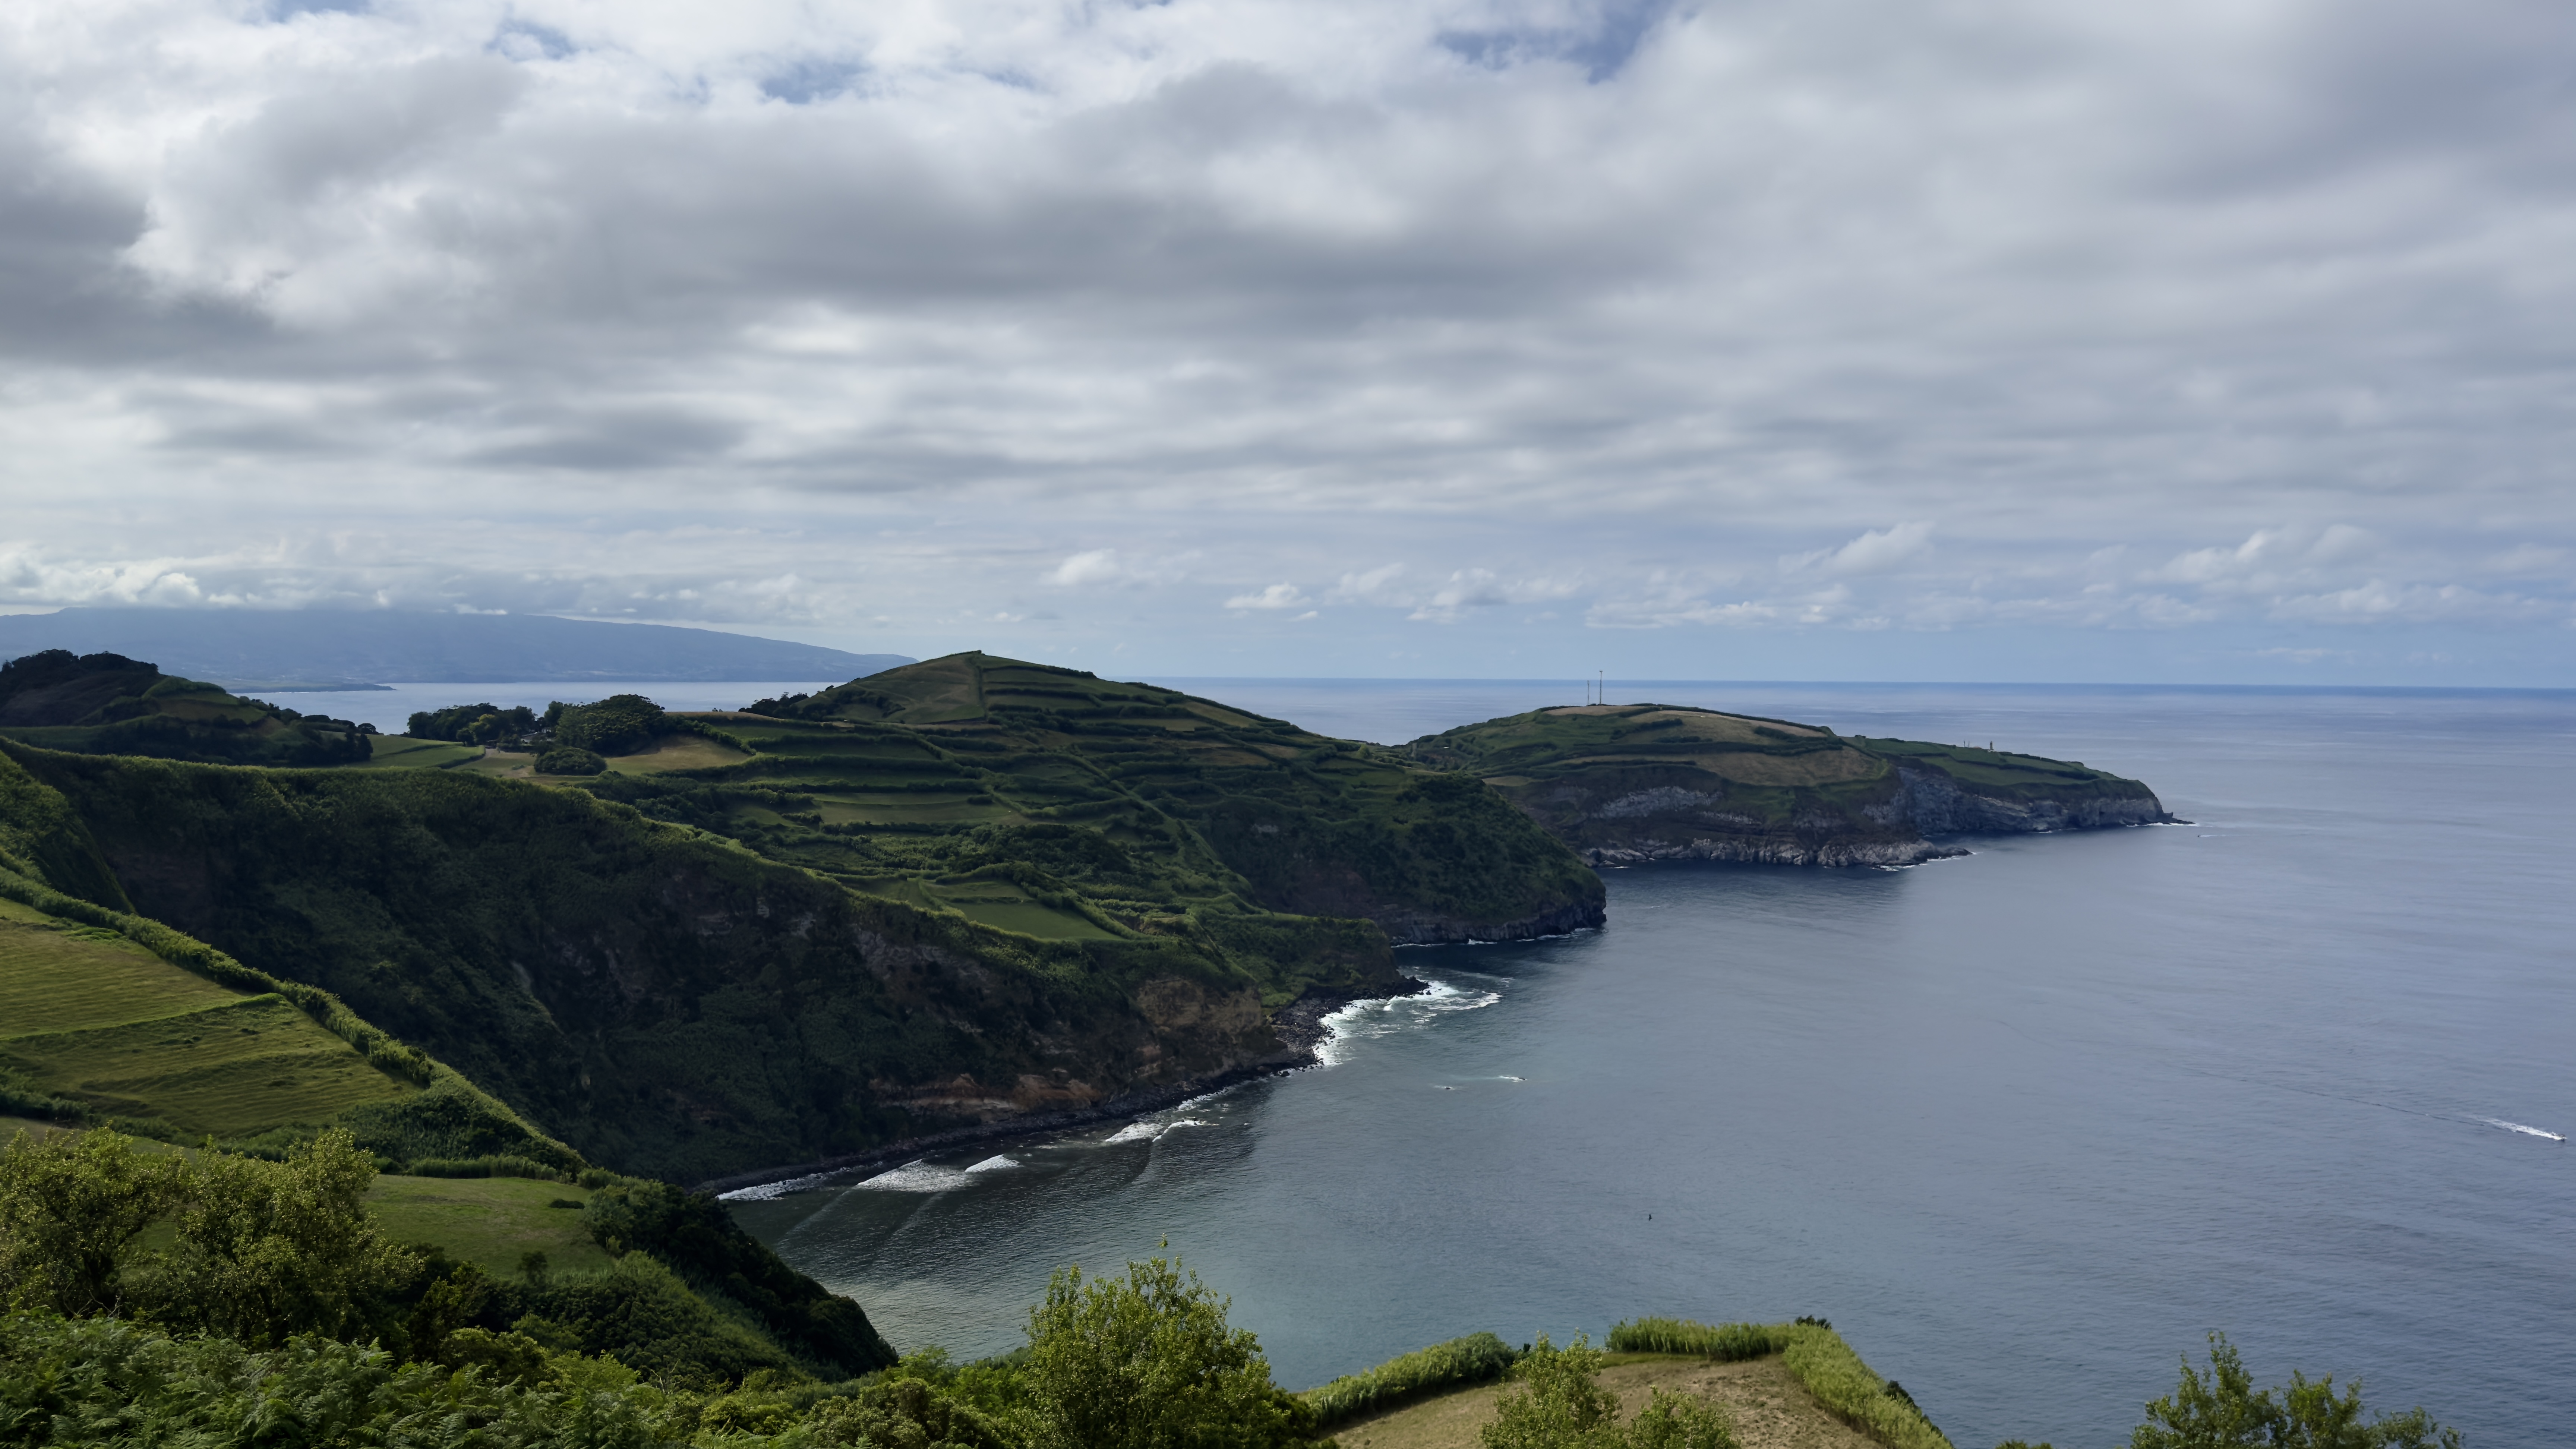
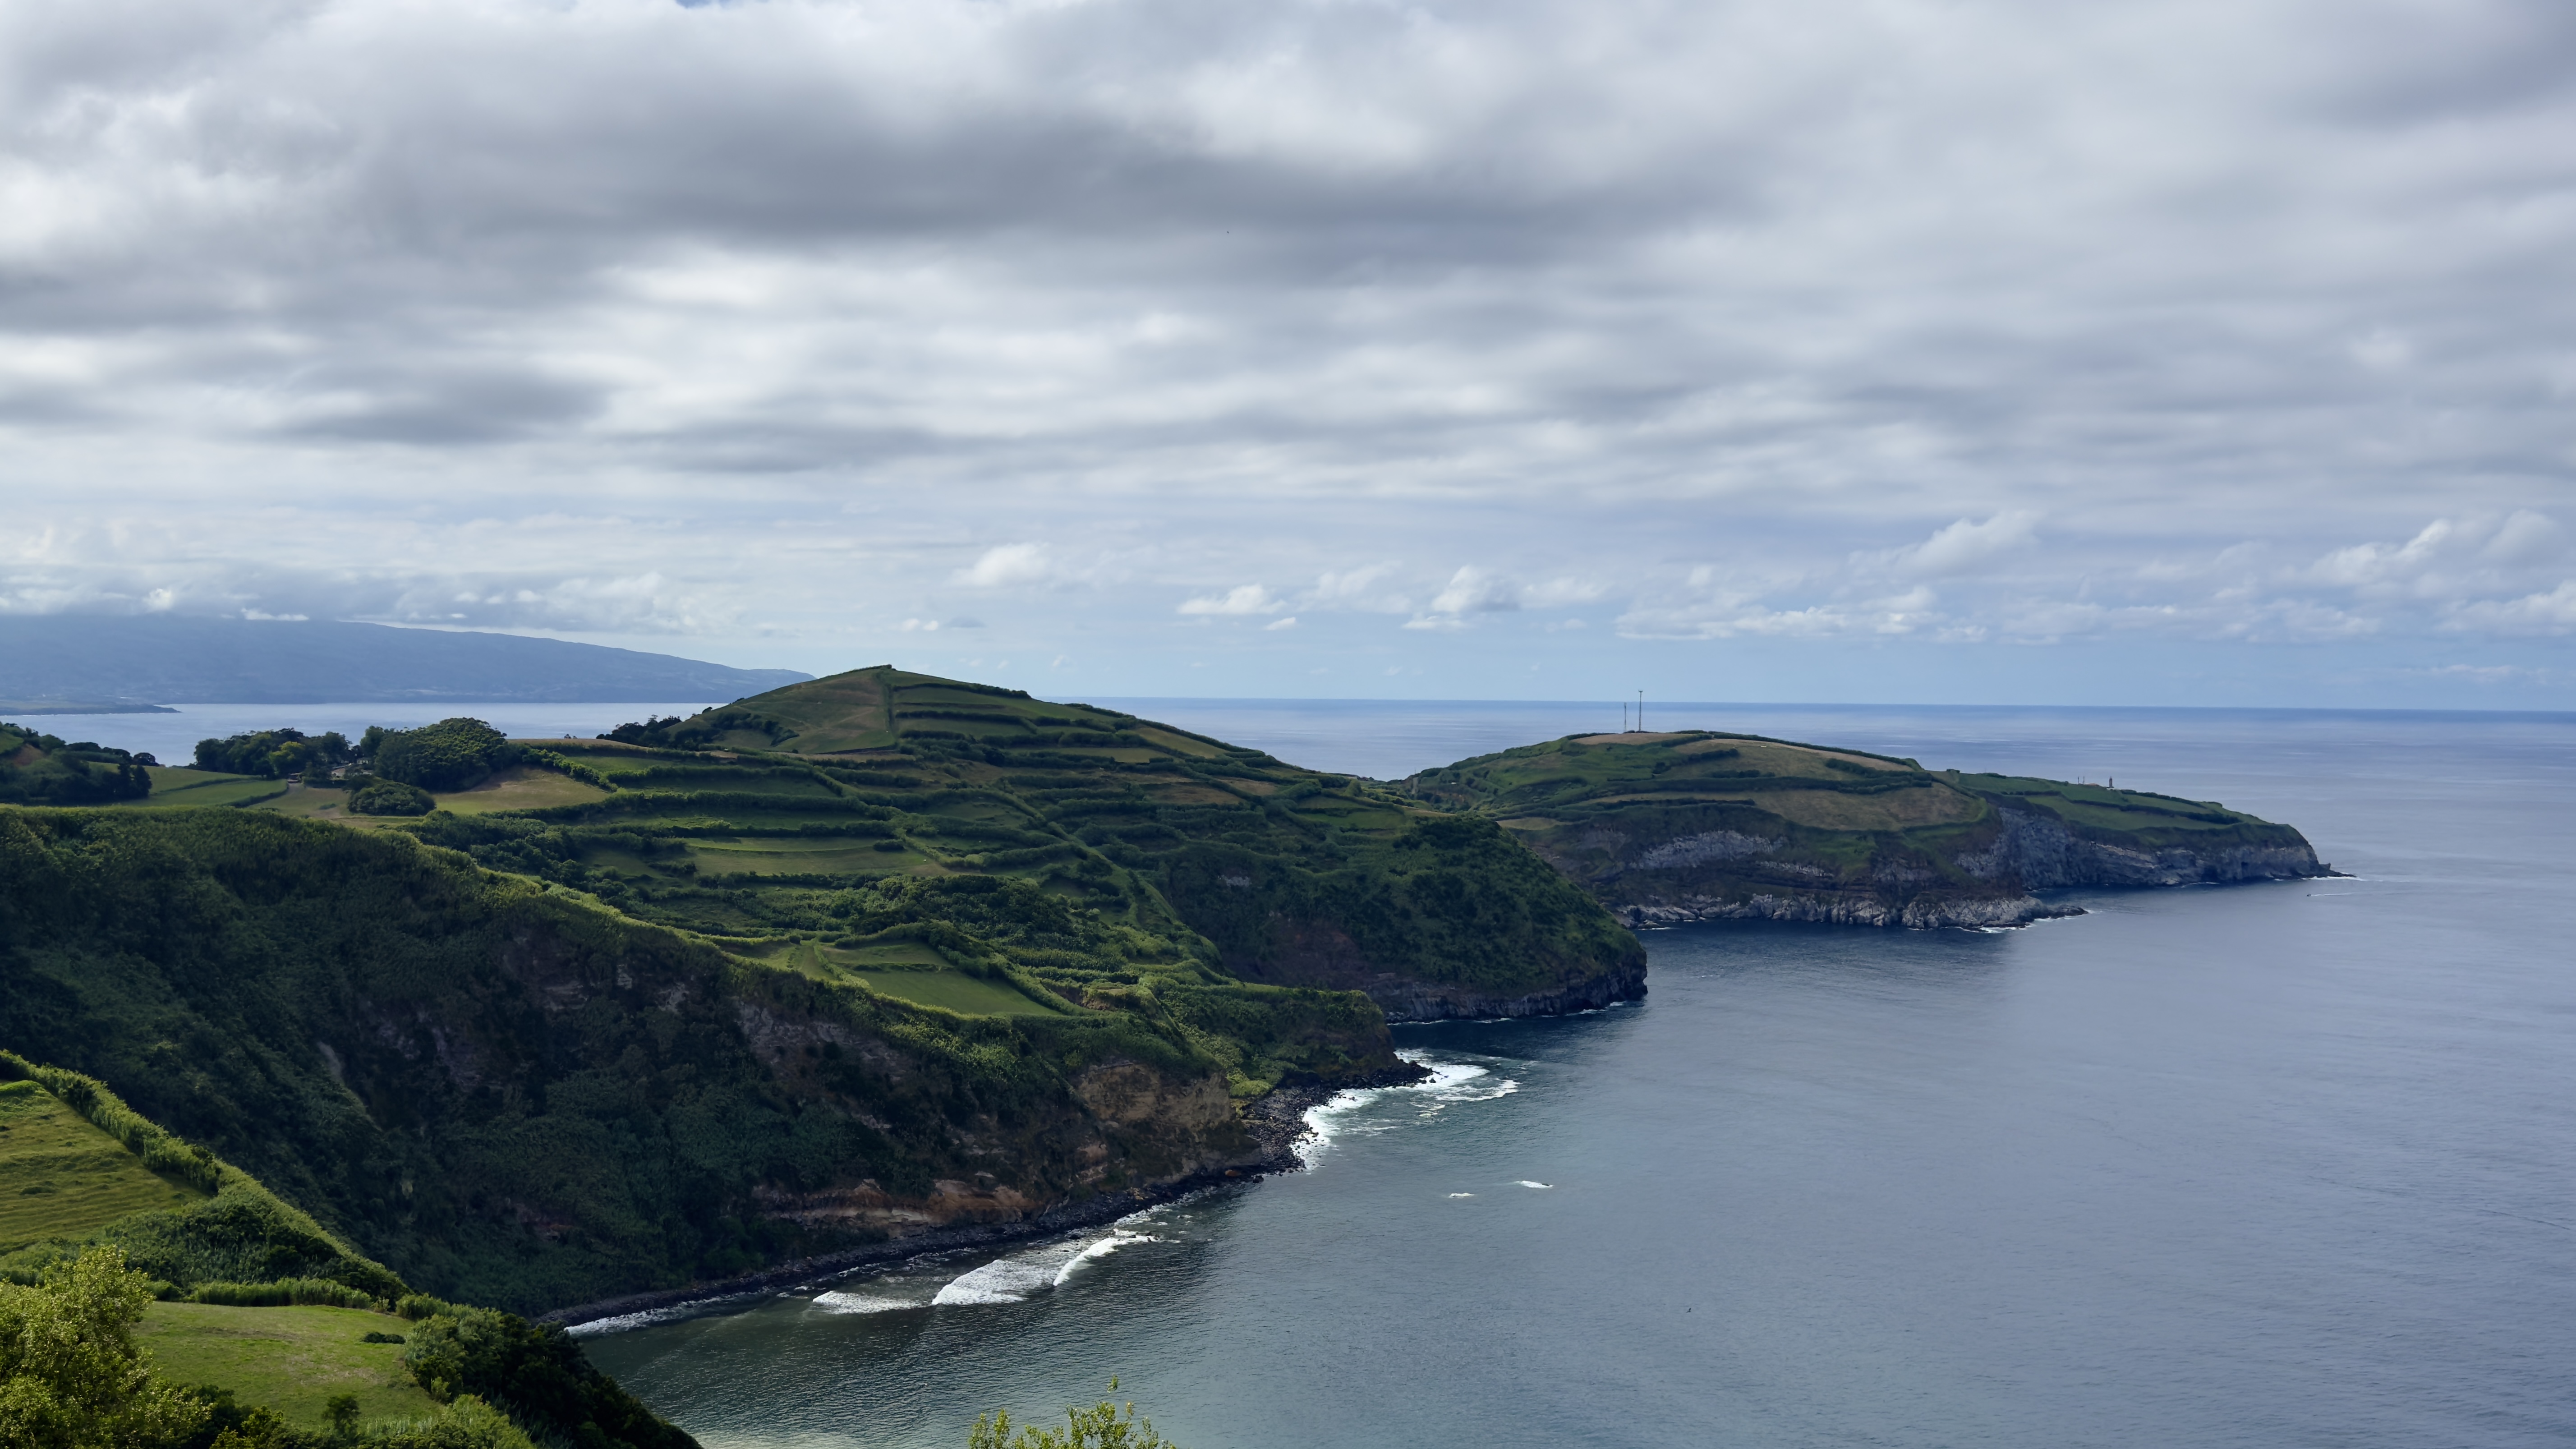
This should be fairly obvious to some people, but the higher the focal length, the closer the image appears to be taken. Additionally, it seems that more detail is preserved from objects at further distances.
Portrait mode
One more feature that was left more me to test was the portrait mode. I decided to test it on a small wooden plane that I have since I was a kid and that I love to use as decoration. Here is the result:
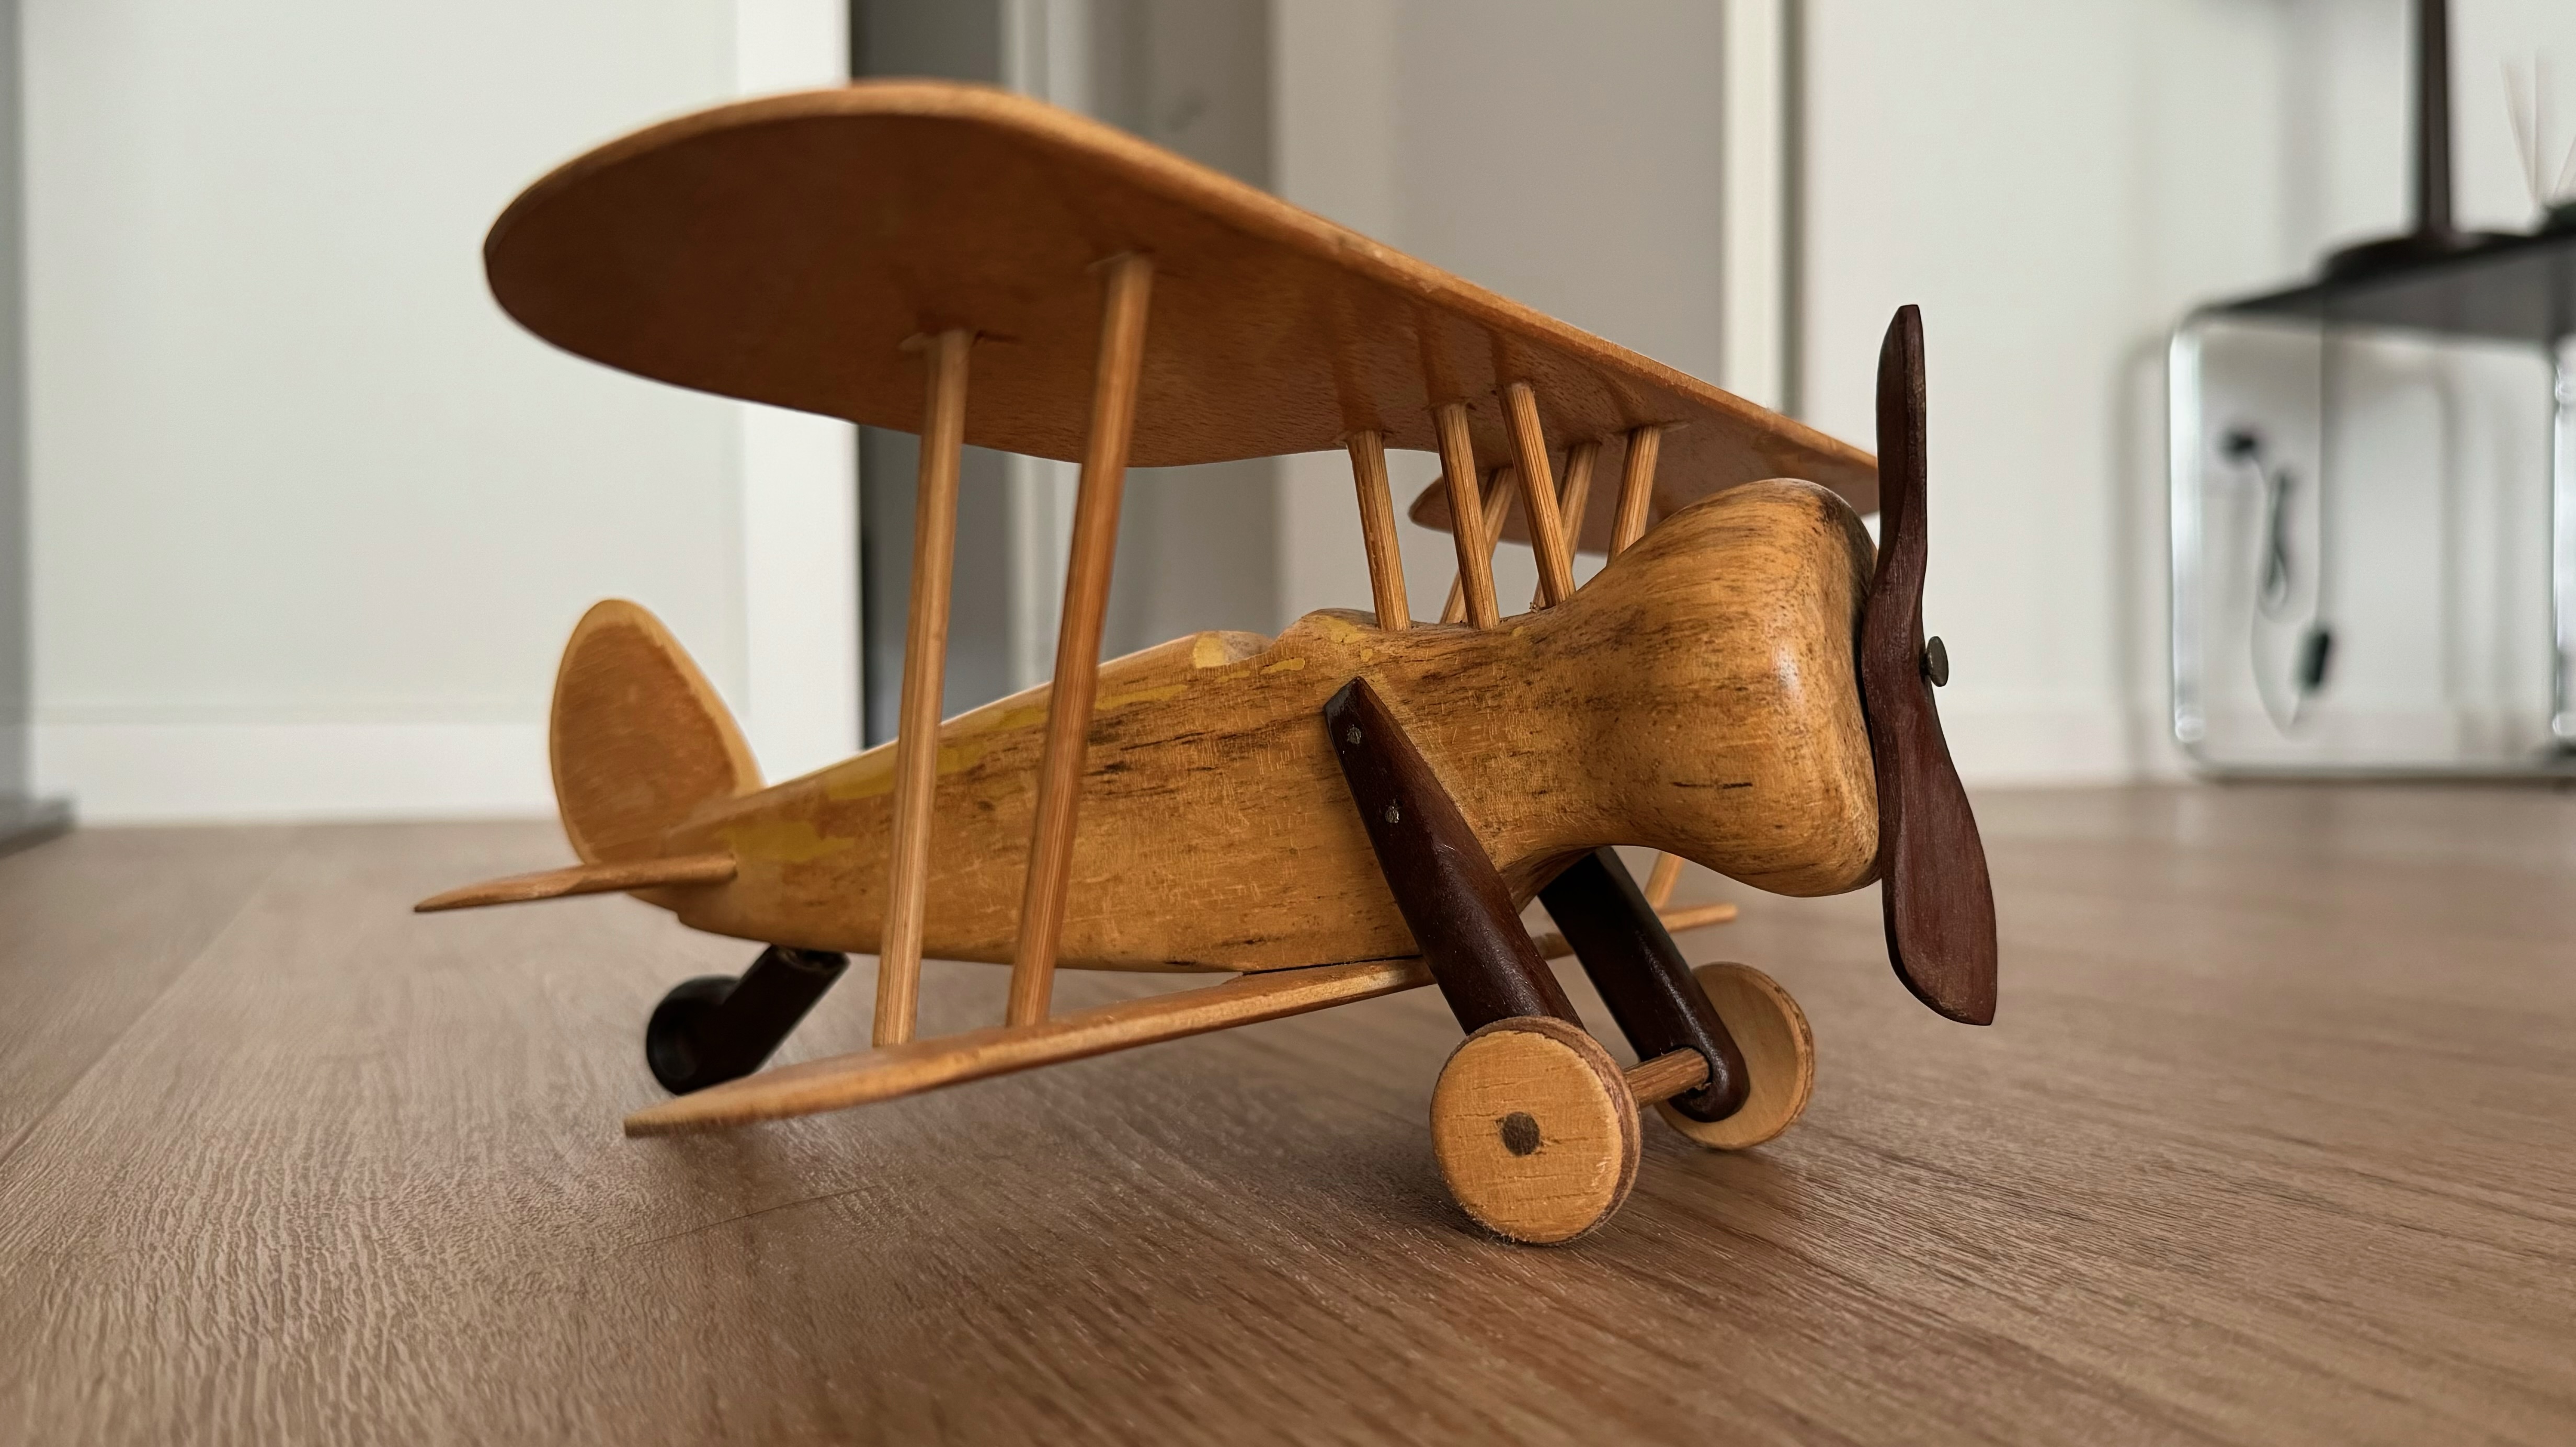
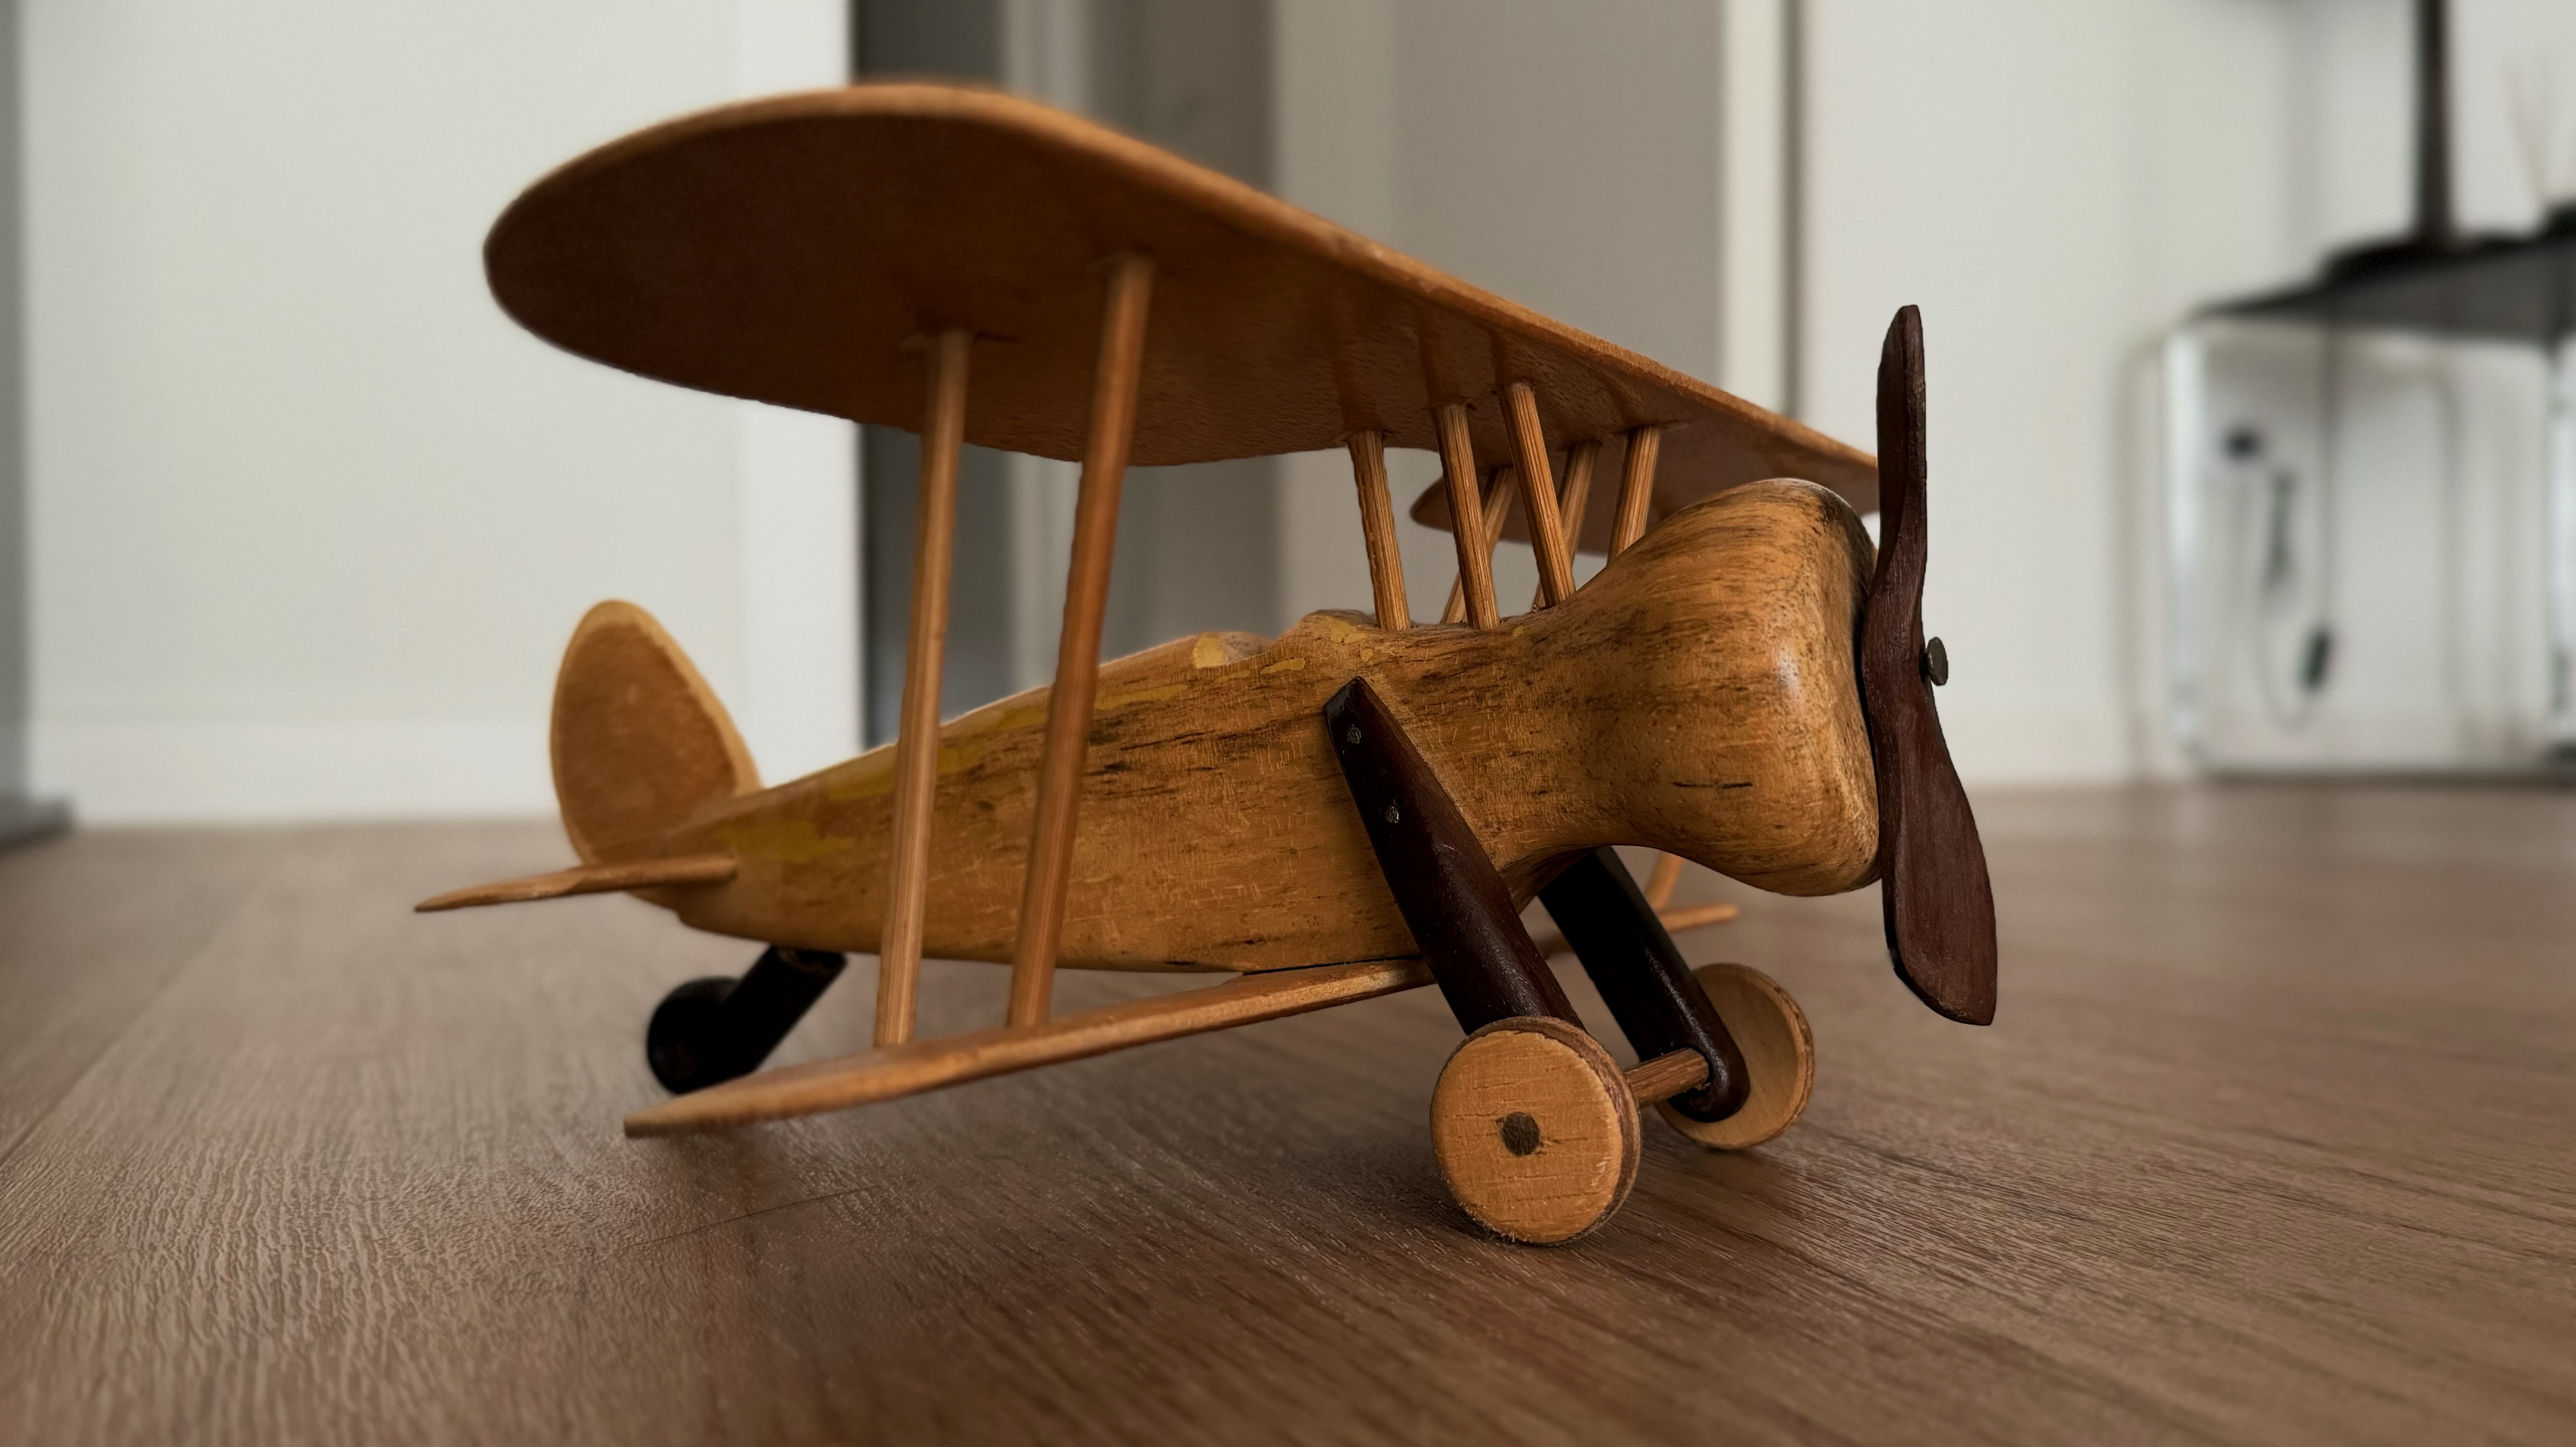
It is interesting to point out that a random hair was captured in this picture. The camera can preserve so much detail at a close distance that one of the smallest things the human eye can see can be captured.
Rooftop experiences
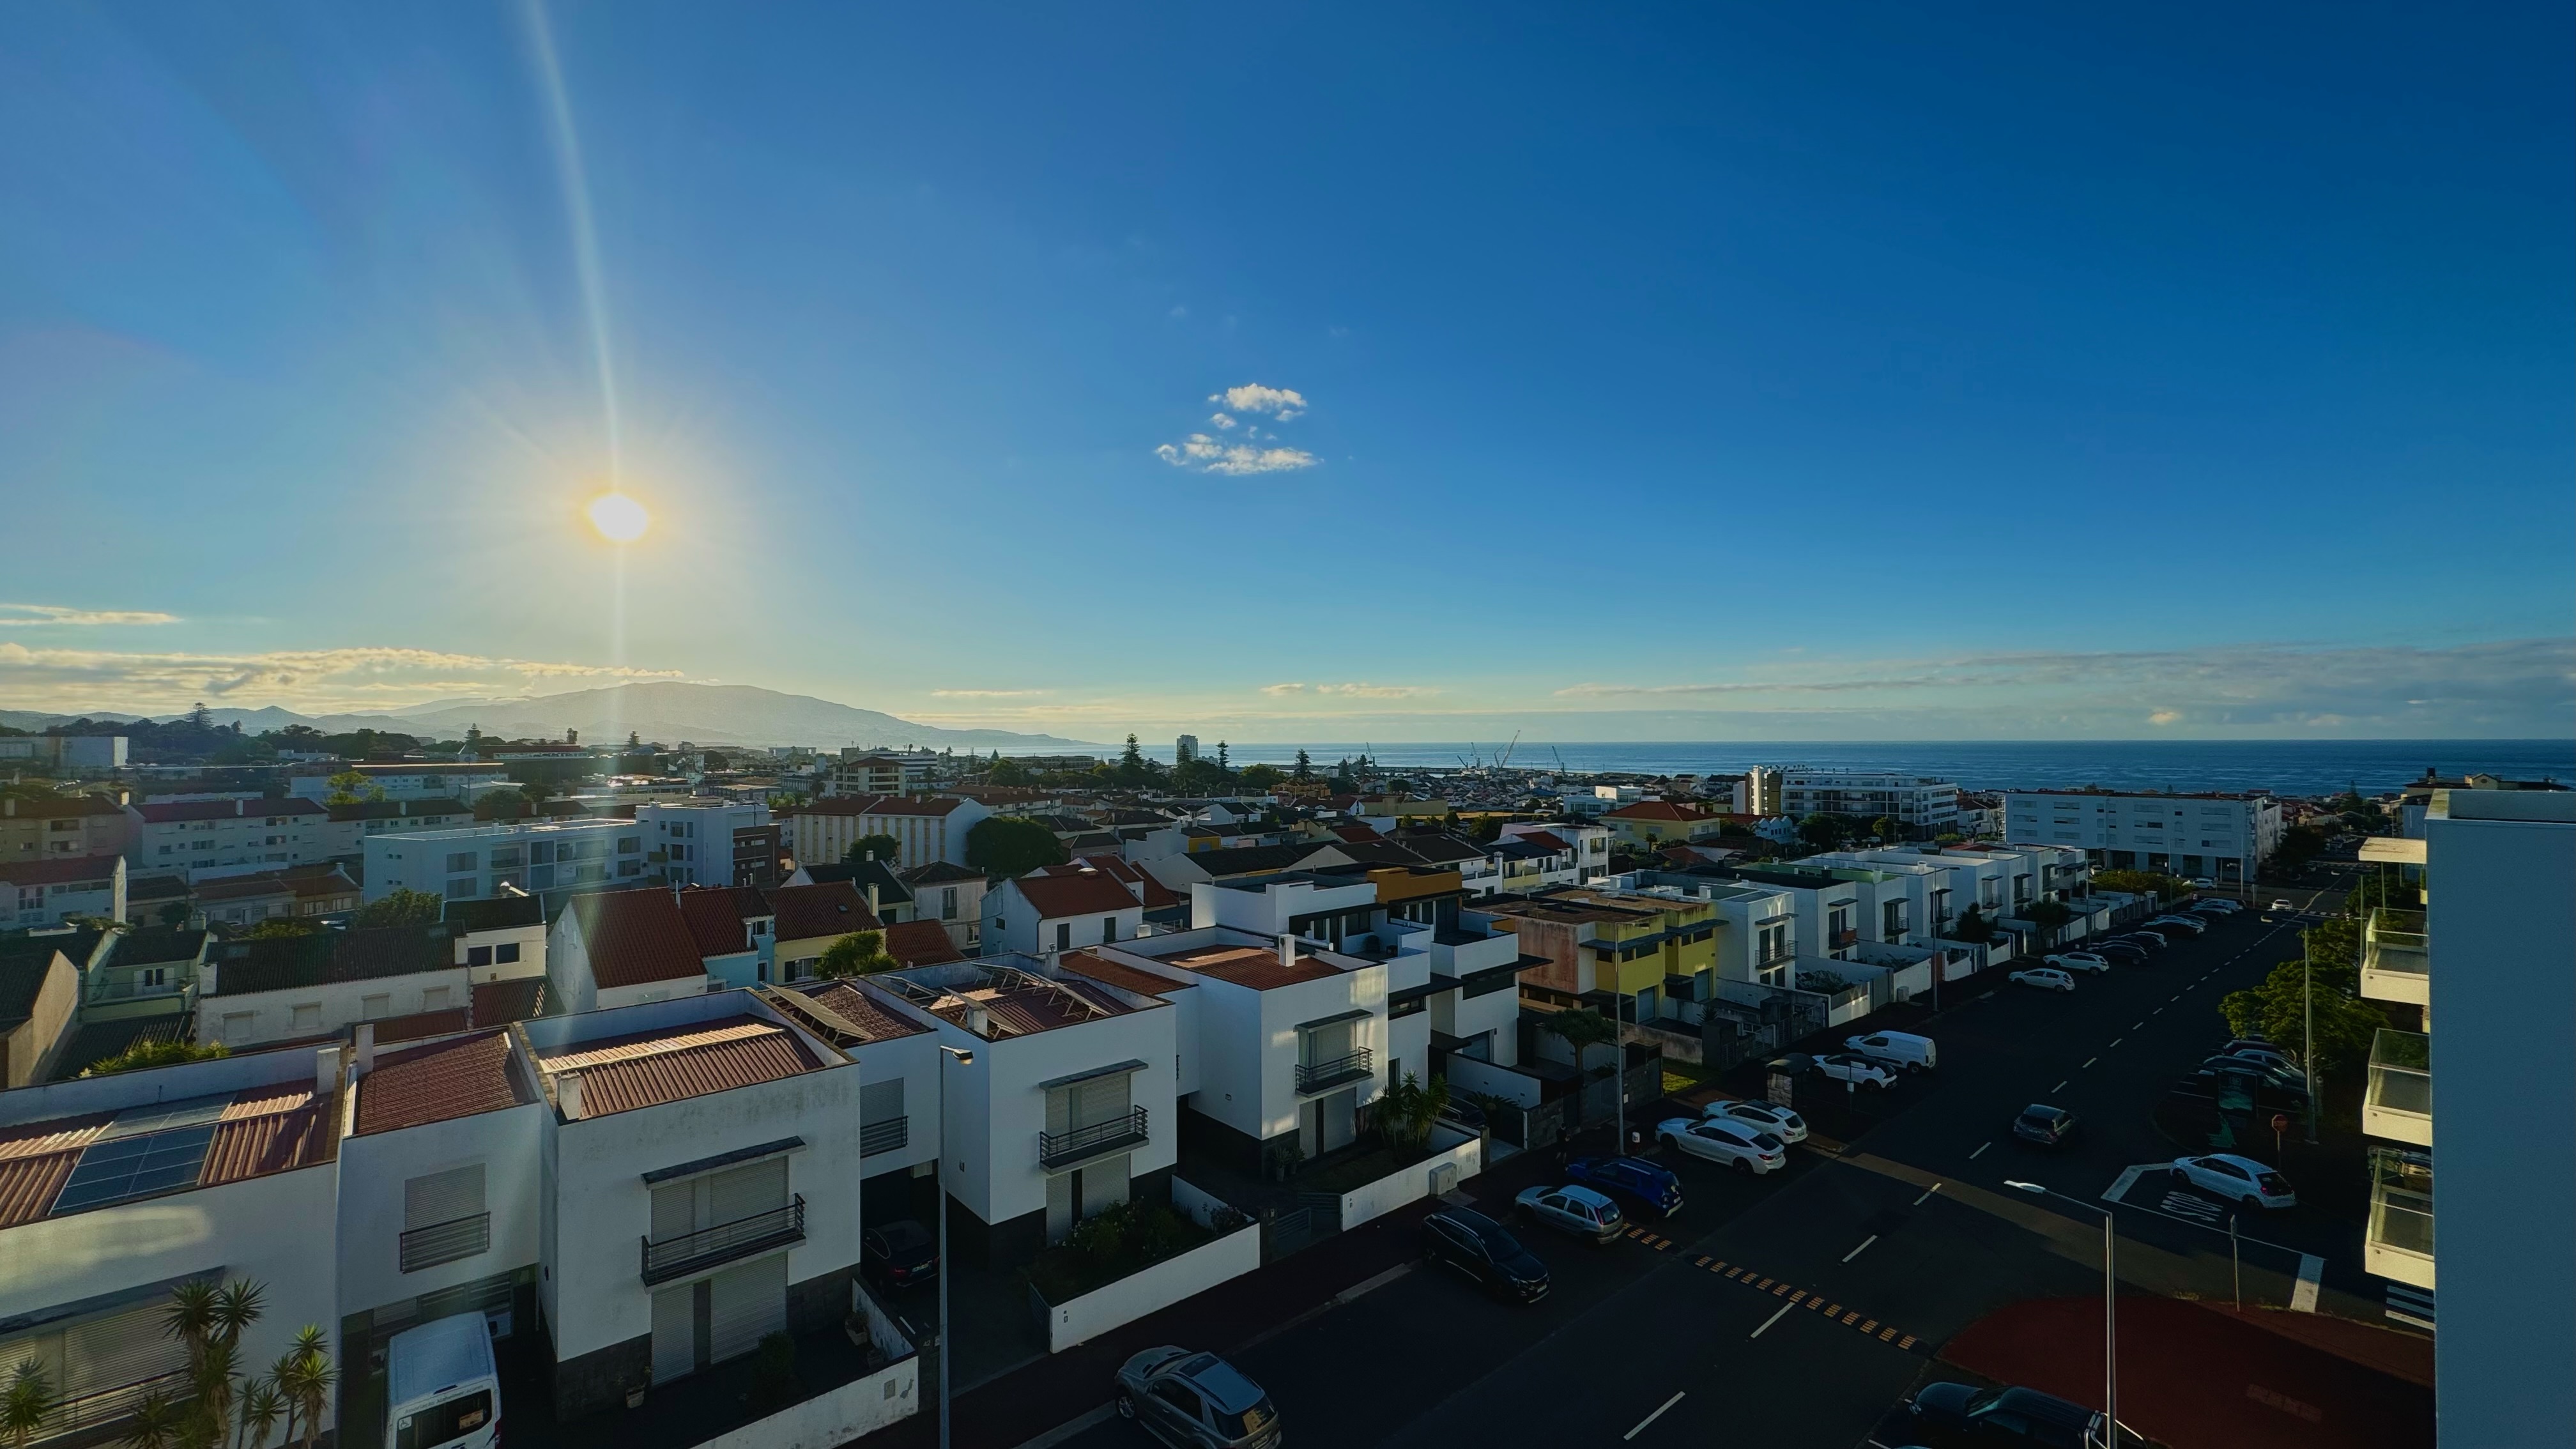
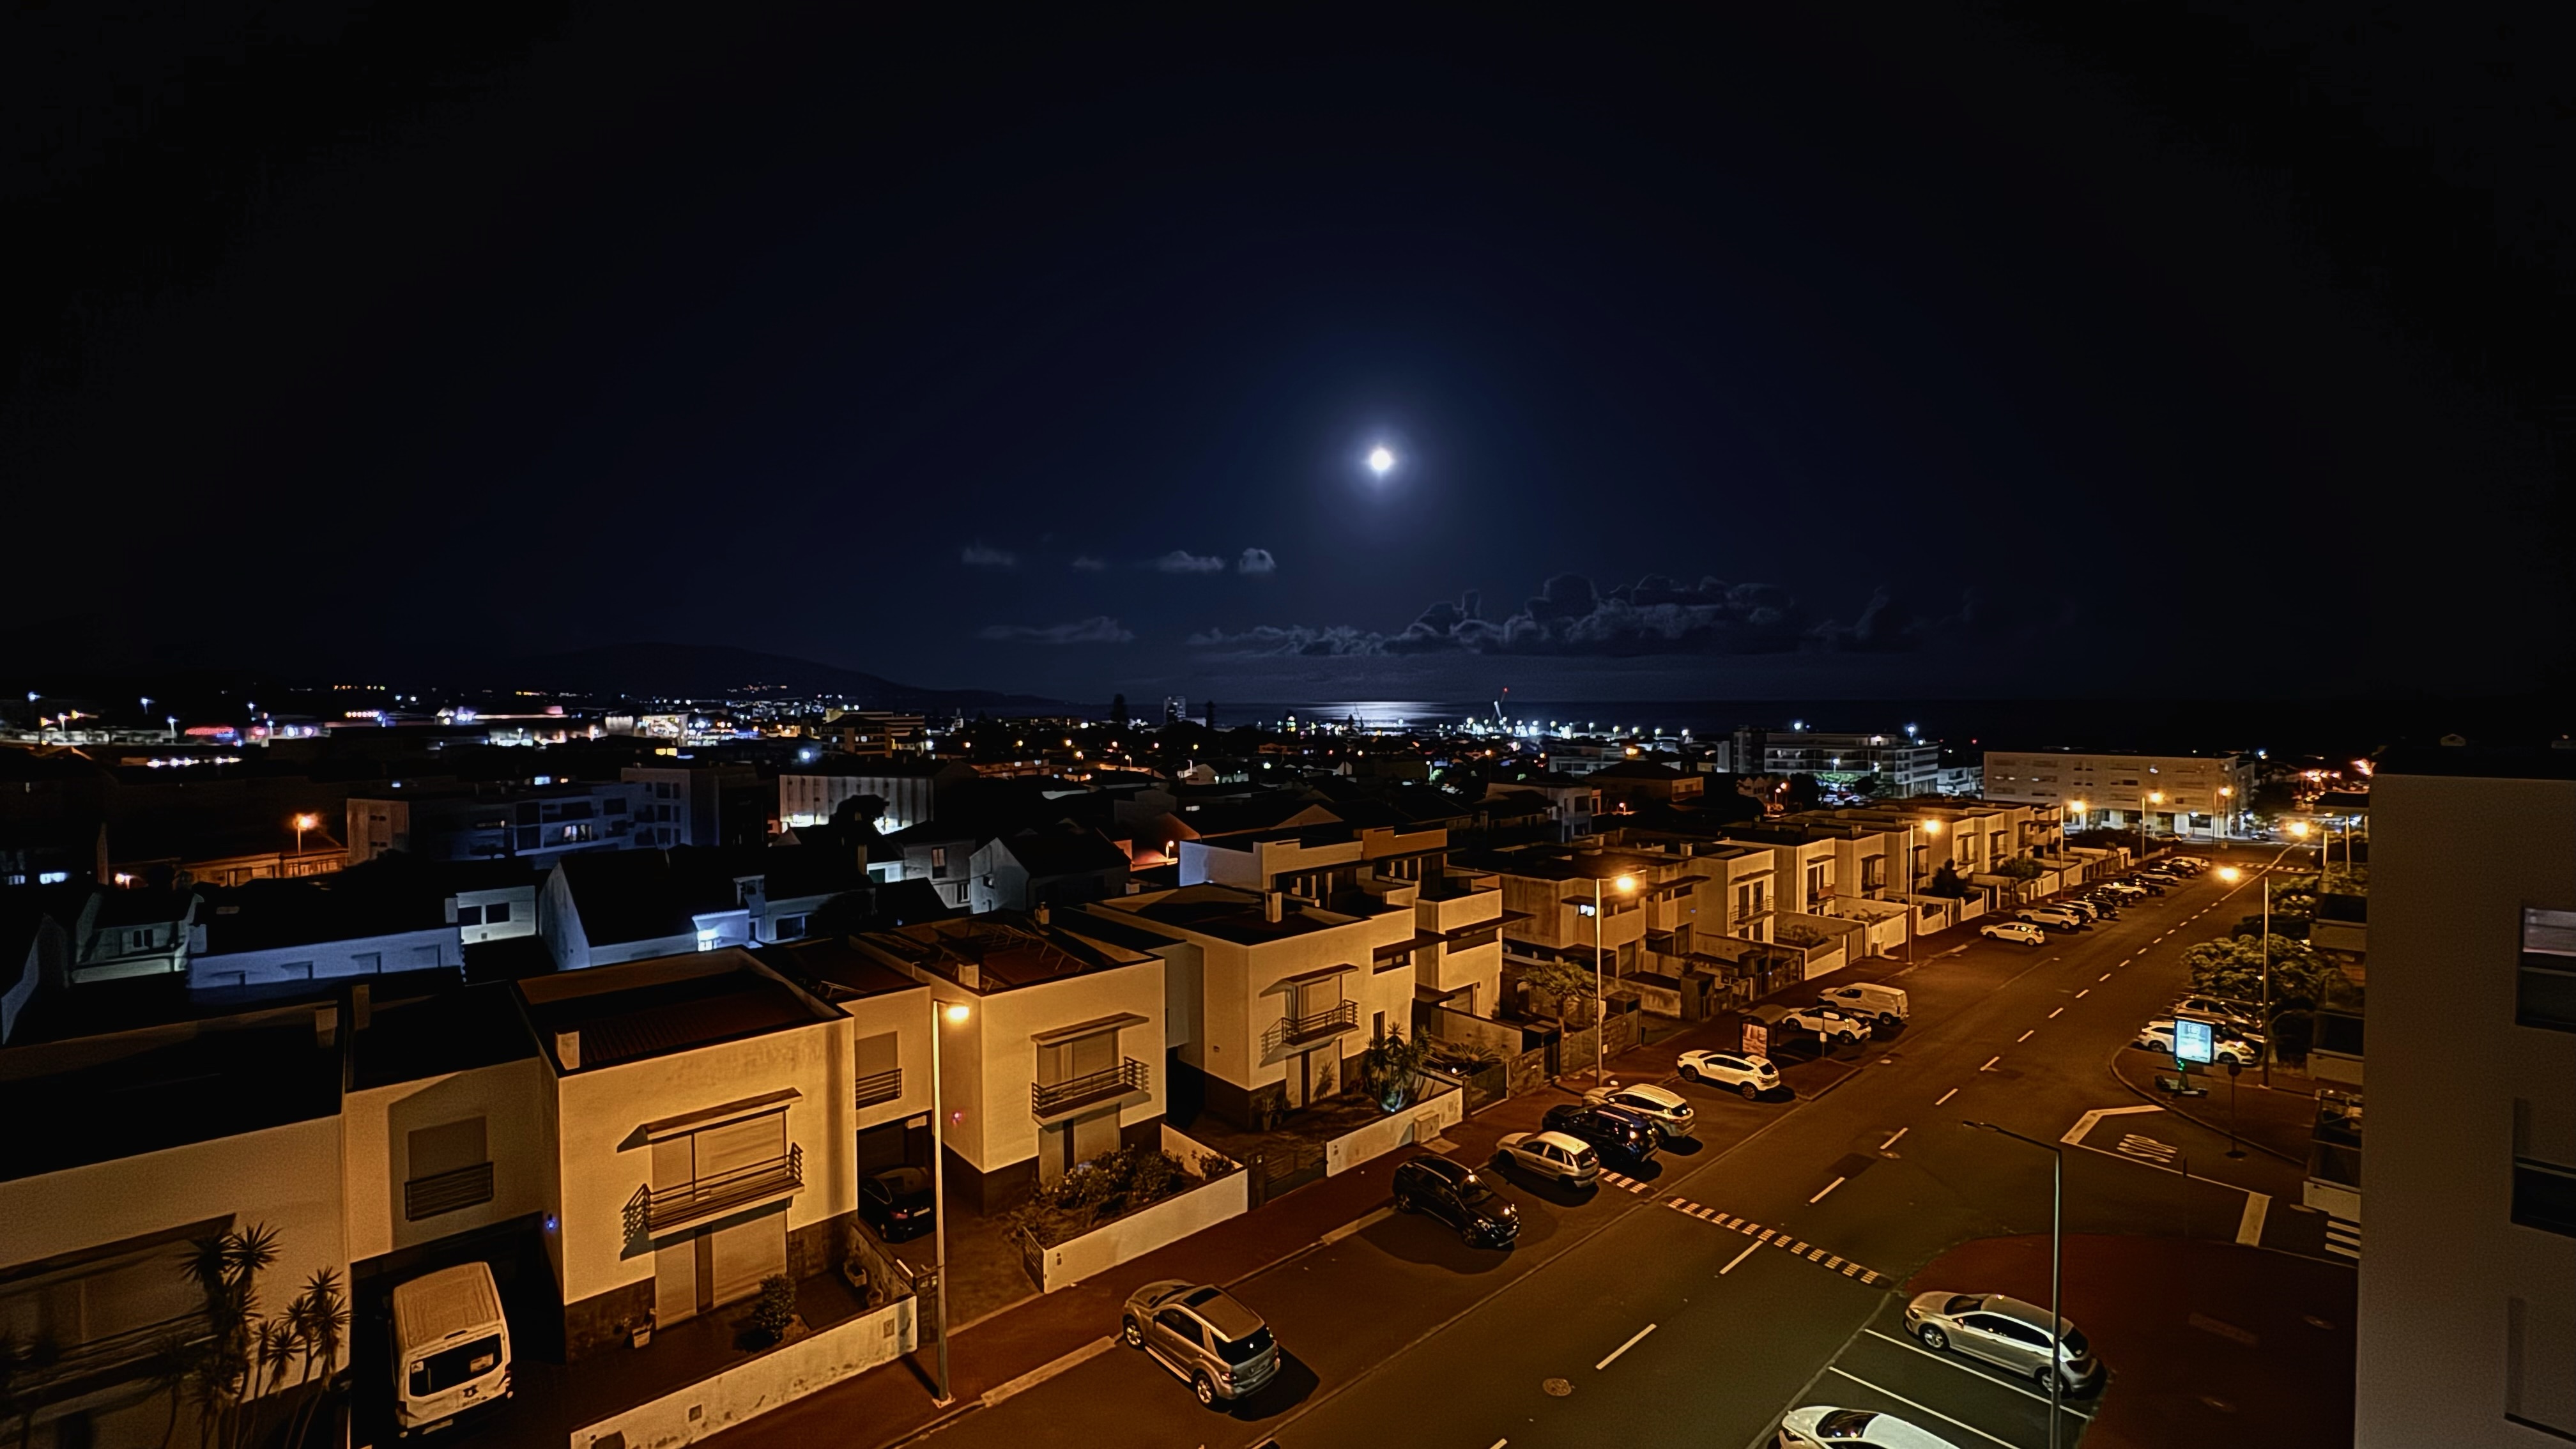
On one day, I captured the city from a rooftop. During the entire day, the sky was very clear, so it allowed for some amazing pictures. I took one on sunrise and one in the beginning of the night. The night picture was very tricky to edit since the camera was not exposed to a lot of light, even though it was full moon. I did my best to make it a decently looking image, but I feel like it still was not enough. Equipment will only take you so far.
Lourenço
References
-
https://appletoolbox.com/editing-photos-iphone/ [accessed 20/08/2024] ↩
Enjoy Reading This Article?
Here are some more articles you might like to read next: